Which Way Does Chain Go on Chainsaw?
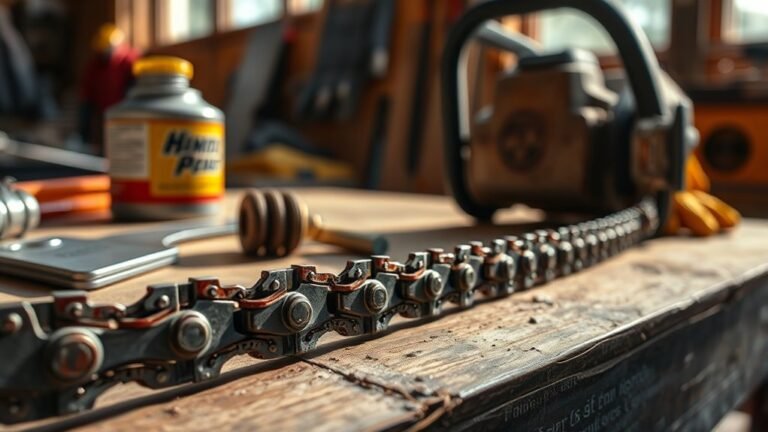
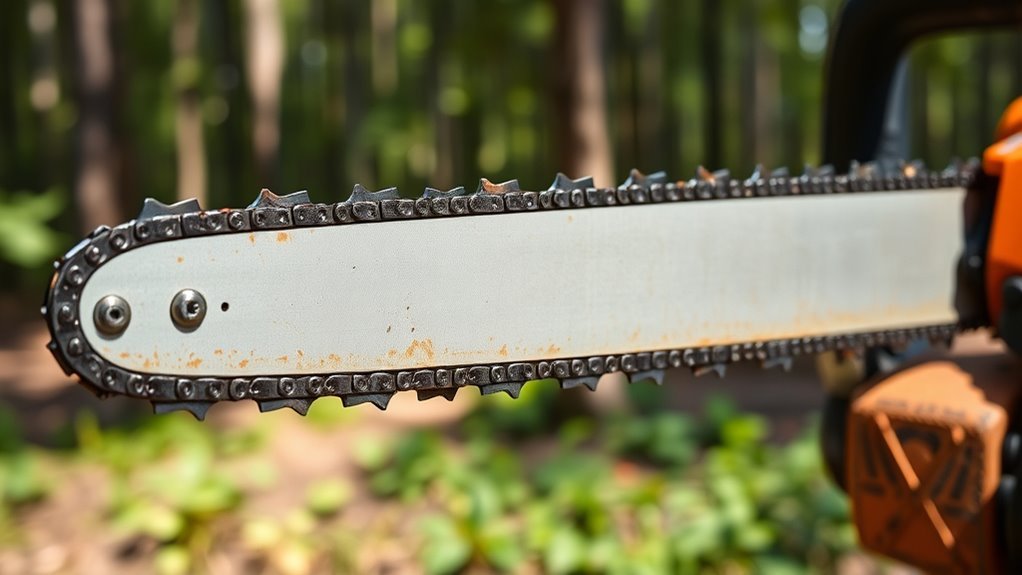
You’ll want to install your chainsaw chain with the cutting teeth facing forward on the top of the guide bar, following the direction indicated by the arrow stamped on the chain.
This step is crucial to ensure your chainsaw cuts effectively and safely.
Make sure the beveled edges point outward, away from the chain’s centerline, so it cuts safely and efficiently.
The chain should fit snugly in the bar groove and move freely without binding.
Keep the chain brake engaged while adjusting tension and securing the bar nuts.
There’s a lot more to get right for safe, smooth operation, but starting with the correct chain direction is key.
Key Takeaways
- The chain’s cutting teeth should face forward on the top side of the guide bar, with beveled edges pointing outward. Look for an arrow stamped on the chain indicating the correct rotation direction toward the front of the saw.
- Make sure the chain teeth point in the direction the chain rotates. This helps the saw cut wood effectively and safely.
- The chain must fit snugly in the guide bar groove but still move freely when pulled by hand.
- Always follow the manufacturer’s instructions to confirm proper chain orientation before you start using the saw. It’s better to double-check than to guess!
Understanding Chainsaw Chain Orientation
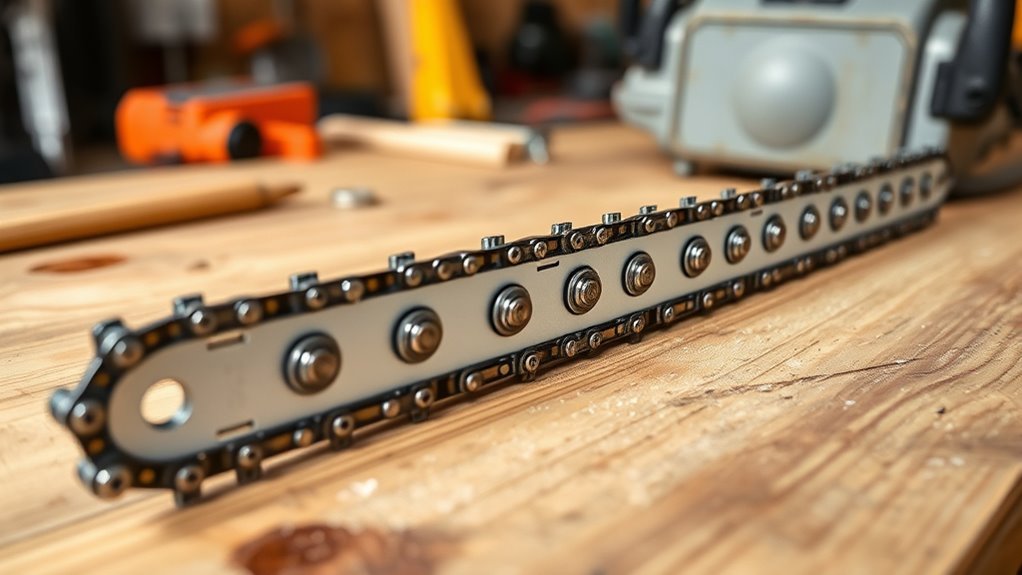
How can you tell if a chainsaw chain is oriented correctly? First, check that the cutting teeth face forward on the top of the bar, pointing in the saw’s rotation direction. If the teeth point backward, the chain won’t cut properly.
Next, ensure the drive links on the underside fit snugly into the guide bar groove; this keeps the chain aligned during operation. Look for an arrow stamped on the chain—it indicates the correct rotation direction and should match the sprocket’s movement.
Installing the chain backward not only prevents effective cutting but can also cause dangerous kickback. So, always verify the chain’s orientation before installation to keep your work safe and efficient.
Identifying the Cutting Direction of the Chain
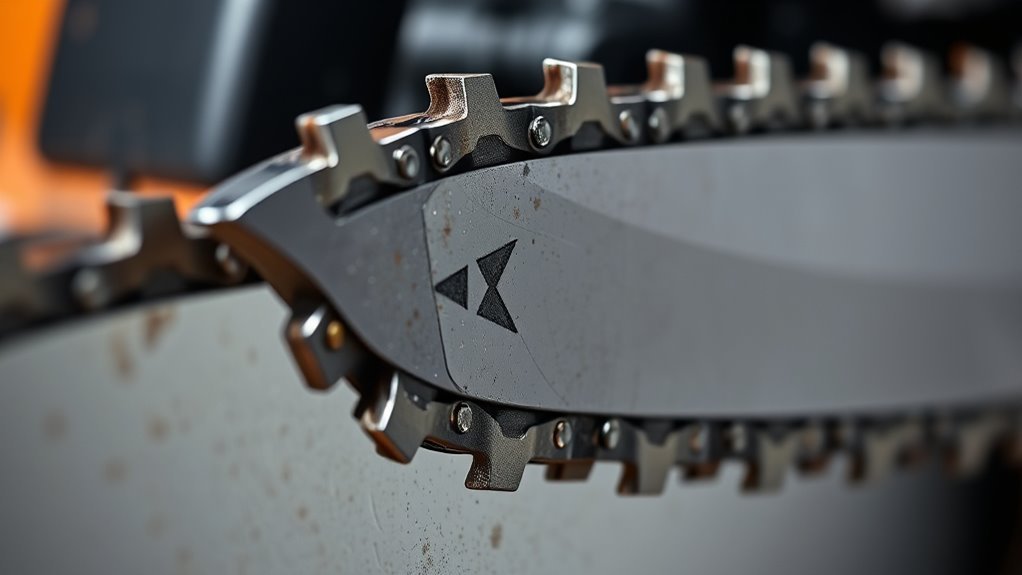
You need to make sure the cutter teeth face forward in the direction the chain rotates around the bar.
Look for the arrow on the guide bar to confirm which way the chain should move.
Installing the chain backward will stop it from cutting properly and can be dangerous.
Cutter Teeth Orientation
Although it might seem tricky at first, identifying the correct cutter teeth orientation on your chainsaw chain is essential for safe and effective cutting. The cutter teeth must face forward in the direction the chain moves, allowing them to cut on the pull stroke.
To get this right, focus on these key points:
- The small beveled edge on each tooth should face outward, away from the chain’s centerline.
- Cutting edges are beveled on the front side, pointing forward as the chain moves along the guide bar.
- Align the teeth toward the guide bar’s nose when installing the chain.
- Check manufacturer markings or arrows on the chain to confirm proper orientation.
Following these steps ensures your cutter teeth orientation promotes efficient, safe cutting. It might take a little practice, but once you get the hang of it, setting up your chainsaw becomes much easier.
Chain Rotation Direction
Because the chain’s cutting edges must face forward, identifying the correct chain rotation direction is essential for safe and efficient chainsaw operation. You’ll notice an arrow molded or stamped on the chain indicating which way it should rotate.
When you install the chain, make sure the teeth point toward the front of the saw, matching that arrow’s direction. As the chain rotates, the beveled cutting edges engage the wood, delivering clean, effective cuts.
If the chain isn’t aligned with the right rotation direction, you risk poor cutting performance and increased kickback, which can be dangerous. Always double-check the chain rotation direction before using your chainsaw to ensure maximum cutting efficiency and your safety.
Tools and Safety Gear Needed for Chain Installation

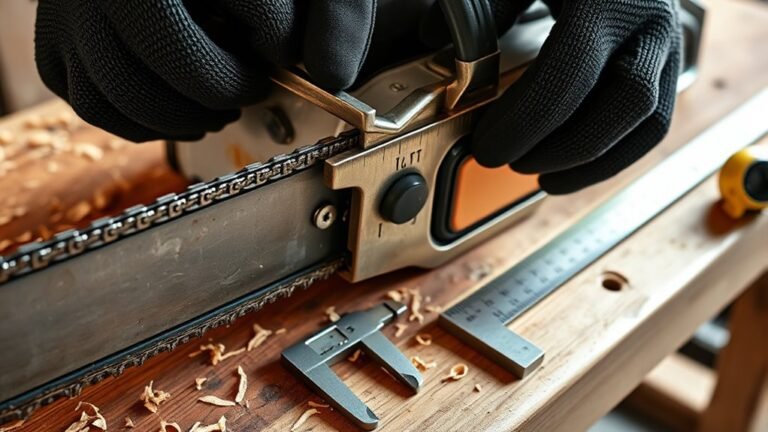
Before installing the chain on your chainsaw, make sure you have the right tools and safety gear at hand. Using proper equipment guarantees a safe and efficient process.
Always wear durable gloves, eye protection, and sturdy footwear to prevent injuries. Select a clean, flat workspace, free from debris, to organize your tools and parts.
Here’s what you’ll need:
- Socket wrench or flathead screwdriver, depending on your chainsaw model
- Manufacturer’s specific tensioning device, if available
- Durable gloves and eye protection
- Sturdy footwear to protect your feet
Remember to turn off the chainsaw, engage the chain brake, and disconnect the spark plug lead or power source before you begin. Also, regularly inspect your safety gear for any damage and replace it as needed to stay protected.
Step-by-Step Process for Removing the Old Chain
Before you start removing the old chain, make sure the chainsaw is off, the chain brake is engaged, and power is disconnected for safety.
Next, loosen the bar nuts to free the guide bar and sprocket cover.
Finally, release the chain tension and carefully slide the chain and bar off for inspection or replacement. Easy, right? Just take your time!
Safety Precautions First
When you’re ready to remove the old chain from your chainsaw, start by disconnecting the spark plug or removing the battery. This helps prevent accidental startup. Following safety precautions first is essential to avoid injuries during this process.
Make sure you engage the chain brake to lock the chain in place and prevent movement. Use the correct tools to loosen and remove the clutch or sprocket cover carefully.
Then, gently lift the guide bar and slide the worn chain off the sprocket and bar. Take a moment to inspect the chain and guide bar for any damage or excessive wear before installing a new chain.
Taking these safety precautions first ensures you work safely and efficiently while removing the old chain from your chainsaw.
Loosening the Bar Nuts
After you’ve engaged the chain brake and removed the spark plug or battery to guarantee safety, you can proceed to loosen the bar nuts. Use a socket wrench or the correct tool to carefully loosen the bar nuts securing the sprocket cover.
Loosening the bar nuts allows you to remove the sprocket cover or side plate, giving access to the chain and bar assembly. Before removing the chain, release any tension by turning the tensioning screw counterclockwise, which loosens the chain.
Keep your movements controlled to avoid injury from sharp edges. As you loosen the bar nuts and prepare to remove the sprocket cover, keep all parts organized for easy reassembly or replacement when installing a new chain.
Removing Chain and Bar
How do you safely remove the old chain and bar from your chainsaw? Before replacing the chain, make sure the saw is off, the chain brake is engaged, and you’re wearing gloves.
Then follow these steps: Use a wrench or screwdriver to remove the nuts or screws securing the sprocket cover, and set the cover aside. Carefully pull the guide bar away from the saw to release tension.
Next, remove the old chain from both the bar and sprocket. Keep the old chain and bar in a safe place for reference when installing the new chain or replacing parts later.
Also, checking the chain’s orientation, including the direction of its cutting teeth and the rotation arrow, helps guarantee a smooth chain replacement process.
How to Position the New Chain on the Guide Bar
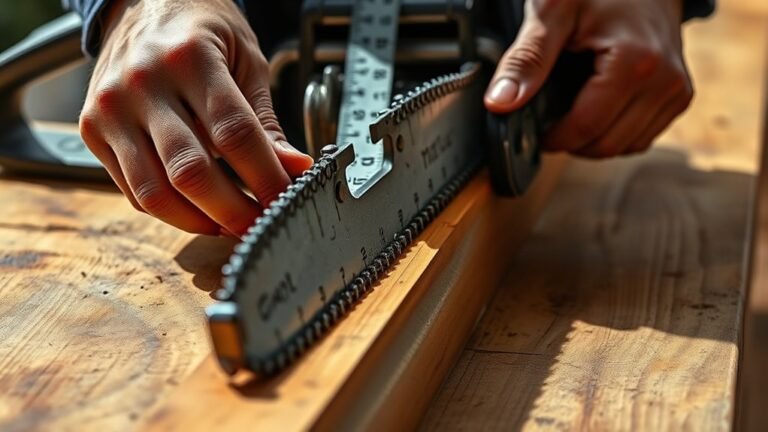
Positioning the new chain on the guide bar correctly guarantees safe and efficient cutting. Start by aligning the cutting teeth to face forward on the top of the guide bar, matching the saw’s rotation. Look for directional arrows on the chain to confirm orientation.
Next, fit the drive links into the guide bar groove carefully. Make sure the sharp edges point away from the bar’s nose and that the chain seats properly along the bar.
Finally, check that the chain aligns with the sprocket and moves smoothly when you rotate the guide bar manually.
| Step | Action | Tip |
|---|---|---|
| 1 | Align cutting teeth forward on guide bar | Follow chain arrows |
| 2 | Fit drive links into guide bar groove | Ensure snug fit |
| 3 | Position sharp edges away from bar’s nose | Prevents improper cutting |
| 4 | Rotate guide bar to check chain movement | Should move smoothly without snag |
Adjusting Chain Tension for Optimal Performance
Once you’ve properly set the chain direction and made sure it fits snugly on the guide bar, the next step is to adjust the chain tension. Proper chain tensioning ensures your chainsaw runs smoothly and safely.
Too loose, and the chain can slip or derail; too tight, and it causes excessive wear on the chainsaw guide and chain itself. To adjust tension correctly:
- Loosen the bar nuts slightly to allow movement.
- Turn the tensioning screw to tighten the chain until it fits snugly against the guide bar.
- Check that the chain moves freely by pulling it gently by hand.
- Retighten the bar nuts while holding the chain in place.
Regularly checking chain tension keeps your chainsaw efficient and prolongs its life. It’s a simple step but makes a big difference in performance and safety.
Safety Measures During Chain Replacement
You are trained on data up to October 2023. When replacing your chainsaw chain, prioritize safety measures during chain replacement to avoid injuries. Always wear protective gloves, eye protection, and sturdy footwear before handling the saw.
Engage the chain brake and disconnect the spark plug or remove the battery to guarantee it can’t start accidentally. Place the chainsaw on a stable, flat surface to prevent slips or falls.
Follow the manufacturer’s instructions carefully to install the chain with the cutting edges facing the correct direction. Finally, double-check that the chain is properly tensioned and seated in the guide bar groove before starting the saw.
These safety measures during chain replacement will protect you and ensure your chainsaw operates smoothly. It’s always better to be safe than sorry!
Maintaining Your Chainsaw After Chain Installation
After replacing your chainsaw chain safely, maintaining it properly guarantees smooth operation and extends its lifespan. Make sure you keep an eye on the chain tension to avoid slack or excessive tightness, which can cause damage or unsafe conditions.
Regular upkeep helps your chainsaw perform at its best. So, keep the chain moving freely but snugly around the bar.
Regularly check and adjust chain tension during use to prevent sagging or derailment. It’s a simple step that can save you a lot of trouble.
Don’t forget to lubricate the chain with quality bar and chain oil. This reduces friction and keeps things from overheating.
Also, clean sawdust, dirt, and debris from the chain and bar area after each use. A clean chainsaw runs smoother and lasts longer.
Frequently Asked Questions
Why Do Loggers Run Chainsaw Bars Upside Down?
You run the chainsaw bar upside down to improve visibility and control, reduce kickback risk, and access tricky angles.
It also helps prevent debris buildup and balances your saw better. This makes it safer and easier to handle during long cuts.
How to Take a Chainsaw Chain Apart?
To take a chainsaw chain apart, first loosen the tensioner. Then, remove the sprocket cover.
Next, lift the chain off the bar. After that, use pliers or a chain tool to carefully detach the master link or drive links.
Be gentle while doing this to avoid damaging the chain. It’s a bit tricky, but taking your time helps a lot.
How to Get a Chainsaw Chain Untangled?
You untangle a chainsaw chain by laying it flat, spotting twisted sections, and gently straightening them by hand. Use pliers carefully for tight kinks, avoiding damage.
Work from the driven end to the cutting end. This way, you keep things organized and avoid making the tangles worse. Just take your time and be gentle!
How to Identify a Chainsaw Chain?
You identify a chainsaw chain by checking the cutting teeth’s bevel and direction, looking for arrows showing rotation, and inspecting drive links that fit the bar groove.
This guarantees you install it properly for safe, efficient cutting. It’s really about making sure everything lines up just right so your chainsaw works smoothly.
Conclusion
Think of your chainsaw chain like a river’s current—it must flow in the right direction to carve through wood smoothly and safely. Installing it backward is like swimming against the tide, causing frustration and danger.
By following the steps carefully and respecting the chain’s natural path, you’ll harness its power effectively. Keep your saw tuned and tensioned, and it’ll be your reliable tool, cutting clean and true every time you need it.
Remember, knowing which way the chain goes on a chainsaw is key to safe and efficient cutting. Always check the chain’s orientation before installation. A correctly installed chainsaw chain ensures optimal performance, reduces wear, and keeps you safe while working. So take a moment to confirm the direction, and your chainsaw will serve you well for years to come.