How to Shorten a Chainsaw Chain in 5 Easy Steps
To shorten your chainsaw chain safely and efficiently, start by disconnecting the power source and putting on your safety gear. This step is crucial to prevent any accidents while you work on the chain.
Next, remove the side cover and the guide bar to get full access to the chain.
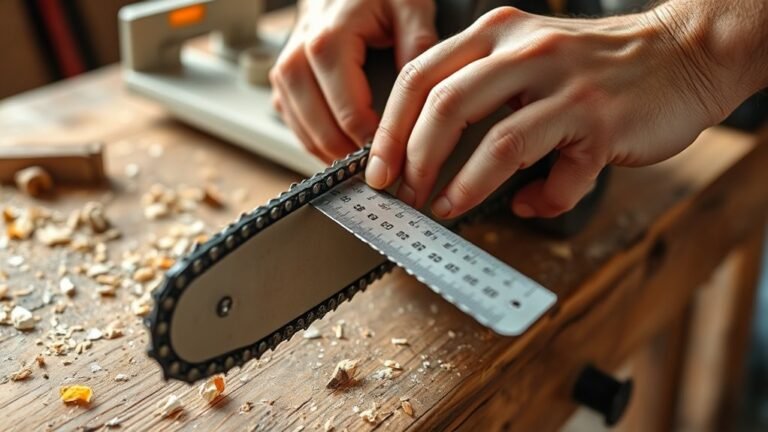
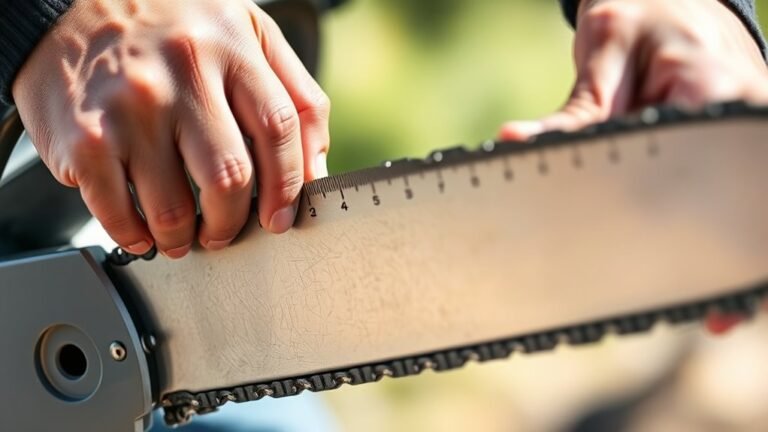
Now, carefully count and mark the number of links you want to remove. It’s important to be precise here to ensure the chain fits perfectly after shortening.
Once you’ve marked the links, grab a chain breaker tool to push out the rivet at the spot you marked. This will separate the chain cleanly.
After removing the desired links, reassemble the chain by securing the rivets tightly.
Place the chain back onto the guide bar and adjust the tension so it runs smoothly.
With these five easy steps, you’ll master the process of shortening your chainsaw chain in no time. Keep practicing to become more confident!
Key Takeaways
- Disconnect power and wear protective gear before starting to ensure safety.
- Next, remove the guide bar and side cover to access and free the chainsaw chain.
- Count and mark the exact number of links you want to remove for precise shortening.
- Then, use a chain breaker tool to carefully push out the rivet and separate the links.
- Finally, reassemble the chain, reinstall it on the guide bar, and adjust tension for smooth operation.
Ensure Safety and Prepare the Chainsaw
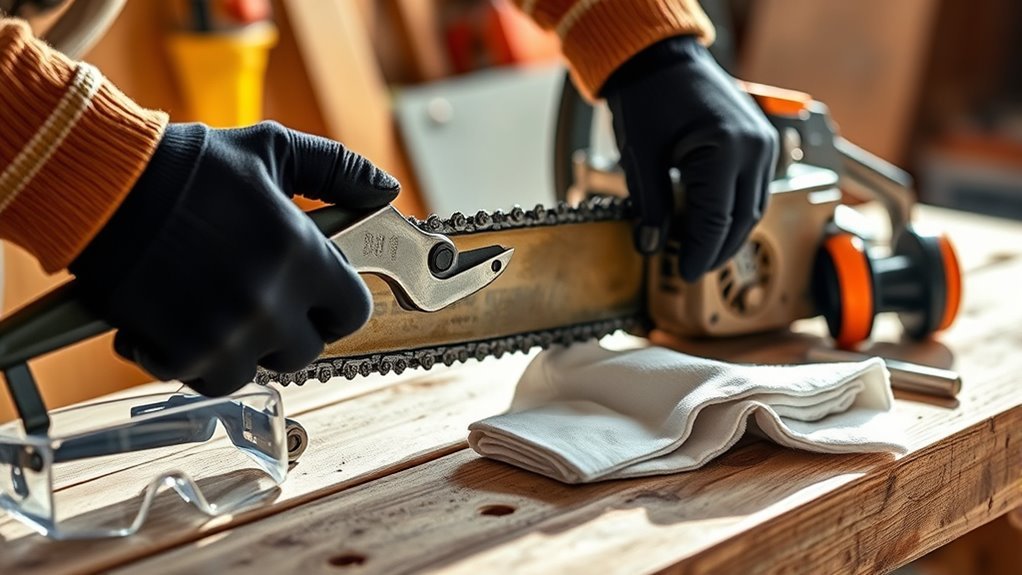
Before you begin shortening your chainsaw chain, make sure you disconnect the power source or remove the spark plug to avoid accidental starts. Prioritizing safety is essential before any work.
Put on protective gloves and eye protection to shield yourself from sharp chain links. Next, focus on preparation: clean the chainsaw and chain thoroughly to remove any debris or oil. This helps you handle the chain better.
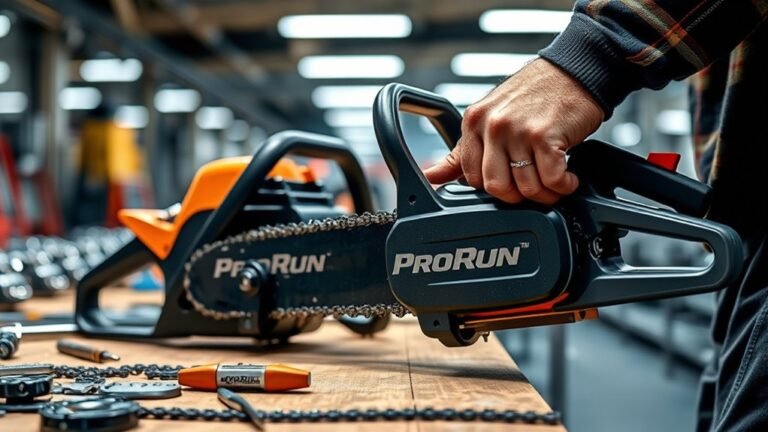
Identify how many links you need to remove and gather the right tools, like a chain breaker or pin punch. Mark the links you plan to cut so you get an accurate and even chain length.
Taking these safety and preparation steps sets a solid foundation for effectively shortening your chainsaw chain. It might seem like extra work, but trust me, it makes the whole process smoother and safer.
Remove the Guide Bar and Access the Chain
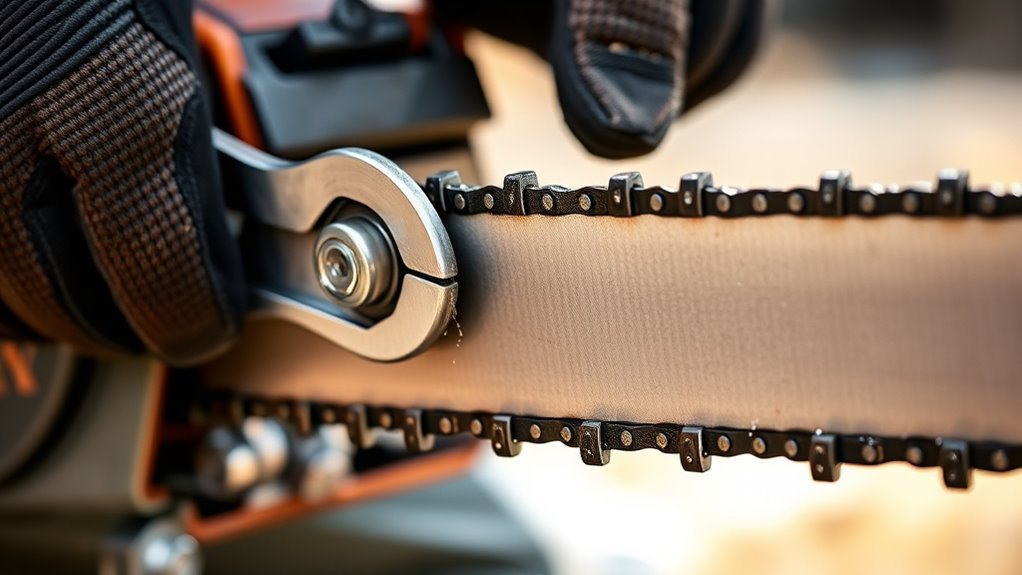
How do you get to the chainsaw chain to shorten it? First, loosen the chain brake and remove the side cover so you can access the guide bar and chain.
Use a wrench or screwdriver to take off the nuts or screws holding the guide bar in place. Carefully slide the guide bar away from the saw’s body, revealing the chain wrapped around it.
Pay close attention to how the chain sits on the guide bar to make reassembly a breeze. Keep all removed parts safe—they’re essential for putting everything back correctly.
Identify and Mark the Links to Remove
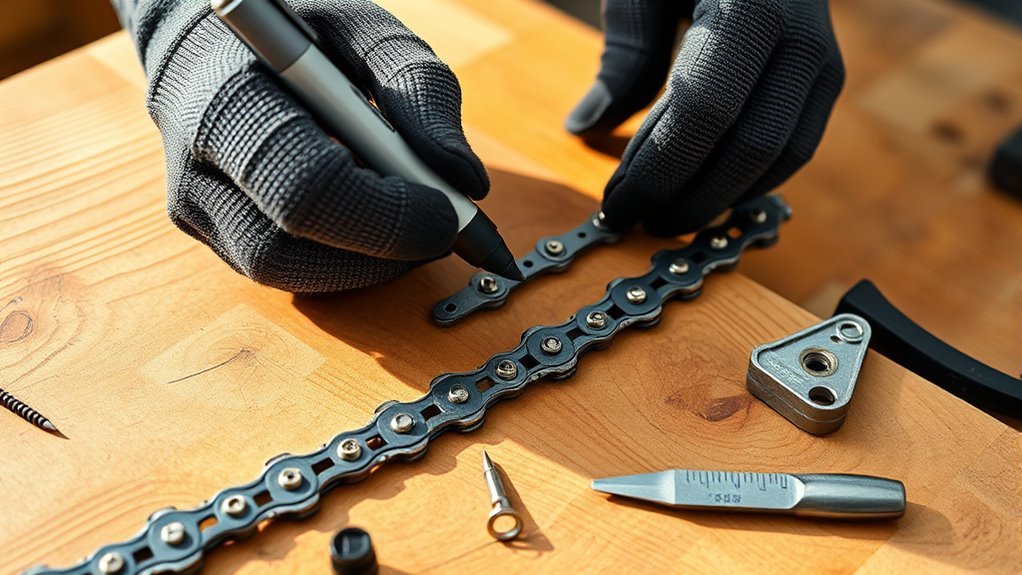
Where exactly should you cut the chainsaw chain to shorten it safely and effectively? First, count the number of links you need to remove based on your desired chain length. Focus on the outer or special connecting links, as only these can be safely detached without damaging the chain.
Next, use a marker or chalk for clear marking of the specific links you plan to remove. Make sure your markings are consistent and positioned evenly to maintain proper chain tension and alignment.
Don’t forget to double-check your markings before proceeding—accurate marking ensures a smooth chain operation after shortening. Taking these careful steps with marking and identifying the correct links will set you up for a safe and effective chain shortening process.
Use Tools to Break and Shorten the Chain
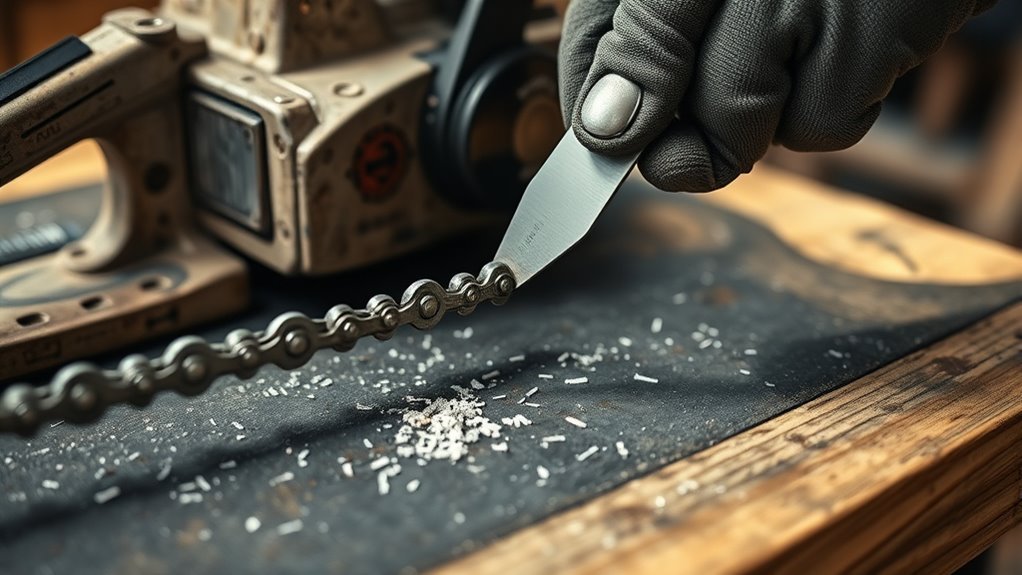
Once you’ve marked the links to remove, you’ll use a chain breaker or rivet tool to separate the chain safely. Position the chain so the rivet lines up with the punch pin. Carefully drive the rivet out, keeping the chain straight to avoid damage.
This step demands patience and precision, but the right tool makes it straightforward. Trust me, it’s easier than it sounds!
Using a chain breaker or rivet tool lets you feel confident that the chain won’t get damaged during removal. Plus, you get the satisfaction of taking control of your tool’s maintenance.
And hey, you’ll save money by doing it yourself without needing professional help. Pretty neat, right?
Reassemble the Chain and Adjust Tension
After breaking and shortening the chain, you’ll need to carefully reassemble it by fitting the links back together and securing the rivets with a chain tool or rivet press. This helps maintain flexibility and strength.
Make sure the rivets are properly aligned and pressed tightly so the chain remains durable yet flexible.
Next, place the chain back onto the guide bar and sprocket, ensuring it seats correctly and moves smoothly.
Now, adjust the chain tension by tightening the tensioner screw or repositioning the guide bar until the chain has about 1/4 inch of slack when pulled away from the bar.
Finally, rotate the chain manually to check for smooth movement. This confirms the chain isn’t too tight or loose before you finalize the chain tension setting.
Frequently Asked Questions
What Is the Proper Way to Tighten a Chainsaw Chain?
You tighten the chainsaw chain by loosening the bar nuts first. Then, turn the tensioning screw until the chain snaps back onto the guide bar without sagging.
After that, retighten the bar nuts. Make sure to check that the chain moves smoothly and freely afterward. It’s important to get this right for safe and effective cutting!
How Do Chainsaw Chains Cut?
Think of your chainsaw chain as a hungry shark biting wood. It cuts by using sharp, beveled teeth that slice wood fibers.
Depth gauges control the bite size, letting you cut efficiently with less effort and more safety.
How to Remove Chainsaw Chain?
To remove your chainsaw chain, first disconnect the spark plug. This is really important for safety before you start working on the saw.
Next, loosen the tensioning screw or the bar nuts. Once that’s done, slide the guide bar away from the saw.
Carefully lift the chain off the guide bar. Remember to note the direction of the teeth so you can put it back correctly later.
How to Flip an Inside Out Chainsaw Chain?
To flip an inside-out chainsaw chain, remove it carefully, then reverse it so the dull side faces outward.
Align it with the guide bar groove, reinstall, and adjust the tension for smooth cutting performance.
It’s pretty straightforward once you get the hang of it. Just take your time, and double-check everything before you start cutting again.
Conclusion
Now that you’ve shortened your chainsaw chain, imagine this: just as you finish tightening the tension, a perfect piece of firewood catches your eye—exactly the size you need. It’s no coincidence; your careful work made this moment possible.
By following these simple steps, you’ve not only tailored your tool but also set yourself up for smooth, precise cuts ahead. Keep safety in mind, and you’re ready for anything the job throws your way.
Shortening a chainsaw chain might seem tricky at first, but with these five easy steps, you’ve made it manageable and efficient. This adjustment ensures your chainsaw performs optimally, providing the right fit and tension for safer, more accurate cutting.
Remember, proper maintenance like this extends the life of your chainsaw and improves your overall cutting experience. So, keep practicing these tips, stay safe, and enjoy the satisfaction of a job well done with your newly shortened chainsaw chain.