How Do You Measure a Chainsaw Bar in 5 Easy Steps
First, disconnect your chainsaw and gather tools with safety in mind. This step is crucial to prevent any accidents while you work.
Next, remove the protective cover and take off the chain carefully.
Then, lay the bar flat on a stable surface to avoid inaccurate measurements. Make sure it’s steady so you get an exact reading.
Measure from the tip of the bar to the center of the mounting slot using a tape measure.
Finally, note your measurement and round up to the nearest even number to find the correct replacement size. This helps ensure your new bar fits perfectly.
Keep going to discover helpful tips for precise measurement.
Key Takeaways
- Disconnect the chainsaw from power and wear protective gloves for safety before starting measurement.
- Remove the protective cover and detach the chain to fully expose the bar.
- Place the bar flat on a stable surface, ensuring it is straight and unobstructed.
- Measure from the tip of the bar to the center of the mounting slot using a tape measure.
- Record the measurement and round up to the nearest even number for accurate replacement sizing.
Disconnect the Chainsaw and Prepare Your Tools

Before you measure your chainsaw bar, how do you guarantee safety and efficiency? First, focus on chainsaw safety by disconnecting the chainsaw from any power source—unplug it or remove the battery. This step is vital to prevent accidental start-ups.
Disconnect your chainsaw from power sources first to ensure safety and prevent accidental starts before measuring the bar.
Next, wear protective gloves to shield your hands from sharp chain links while handling the chainsaw. Place the chainsaw on a stable, flat surface to keep it from moving during the process.
Now, prepare your tools: grab a tape measure, a scrench or screwdriver, and any other items needed to measure the chainsaw bar accurately. Even though you haven’t removed the chain yet, having everything ready speeds up the process and keeps you safe throughout.
Prioritize these steps before moving forward to remove chain or cover. It’s all about staying safe and making the job easier!
Remove the Protective Cover and Detach the Chain

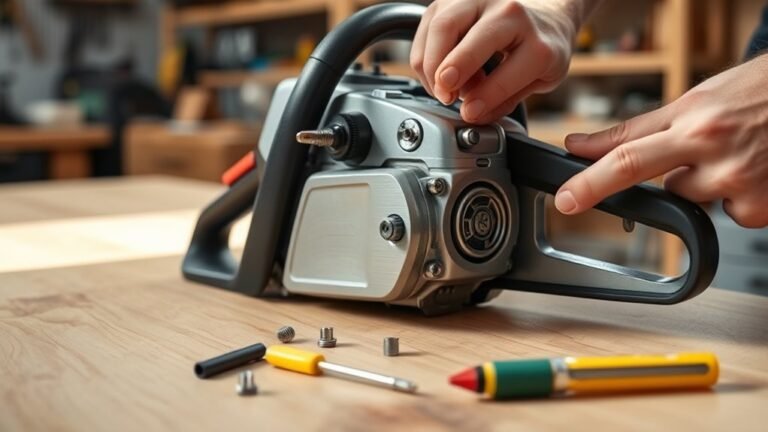
With the chainsaw safely powered off and your tools ready, you can loosen the screws or bolts holding the protective cover in place using a scrench or screwdriver. Carefully remove the protective cover to expose the chainsaw bar and chain assembly.
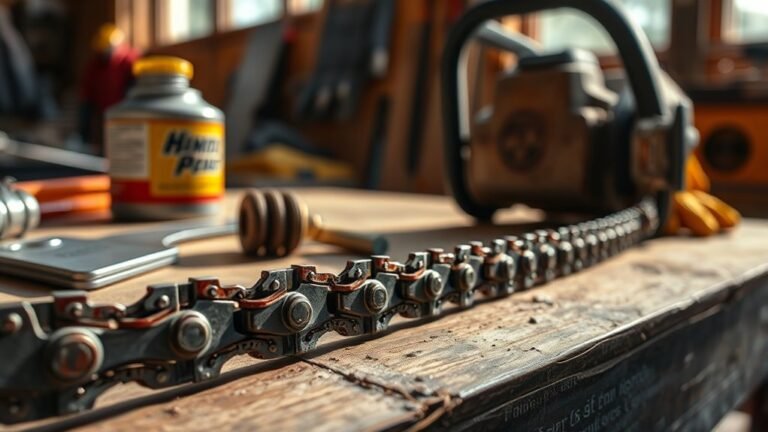
Following safety precautions, gently detach the chain from the bar, paying close attention to the chain orientation for reassembly later. Be sure to place both the chain and protective cover in a safe spot to avoid damage or injury while you proceed.
Removing the chain is essential for accurate measurement of the chainsaw bar, allowing you to access the bar fully without obstruction. Keeping track of the screws or bolts ensures you can securely reattach everything once your measurement is complete.
Position the Bar for Accurate Measurement
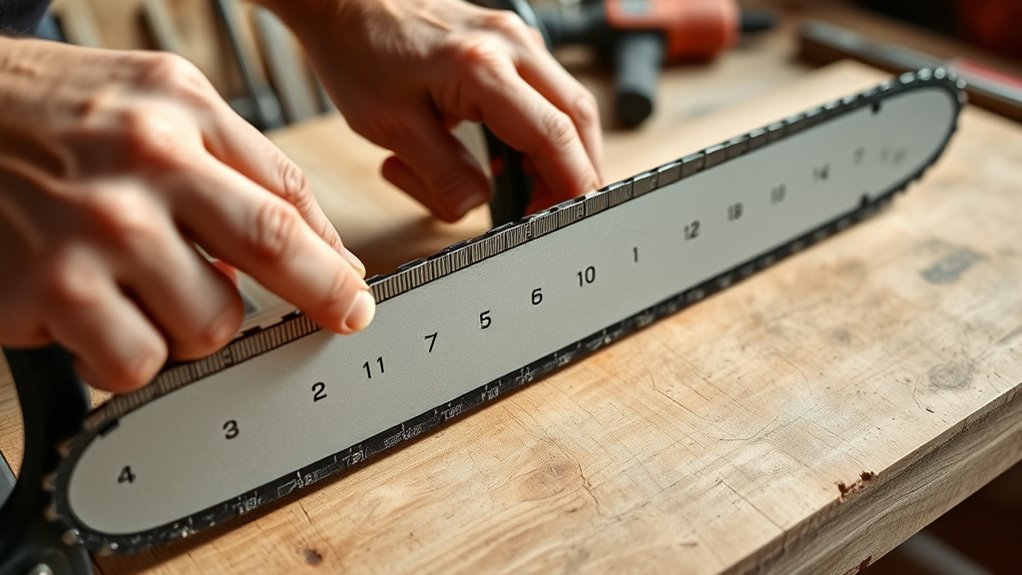
Although it may seem simple, positioning the chainsaw bar correctly is essential for an accurate measurement. To measure the chainsaw bar properly, start by placing the saw on a flat surface to keep everything stable.
Remove the protective cover and detach the chain so you can fully access the bar. Next, position the bar so it lies flat and parallel to the flat surface, preventing any skewed readings.
Make sure the tip of the bar is straight and not bent or warped, ensuring proper alignment. Keep the entire length of the bar visible and unobstructed.
Measure From the Tip to the Center of the Mounting Slot
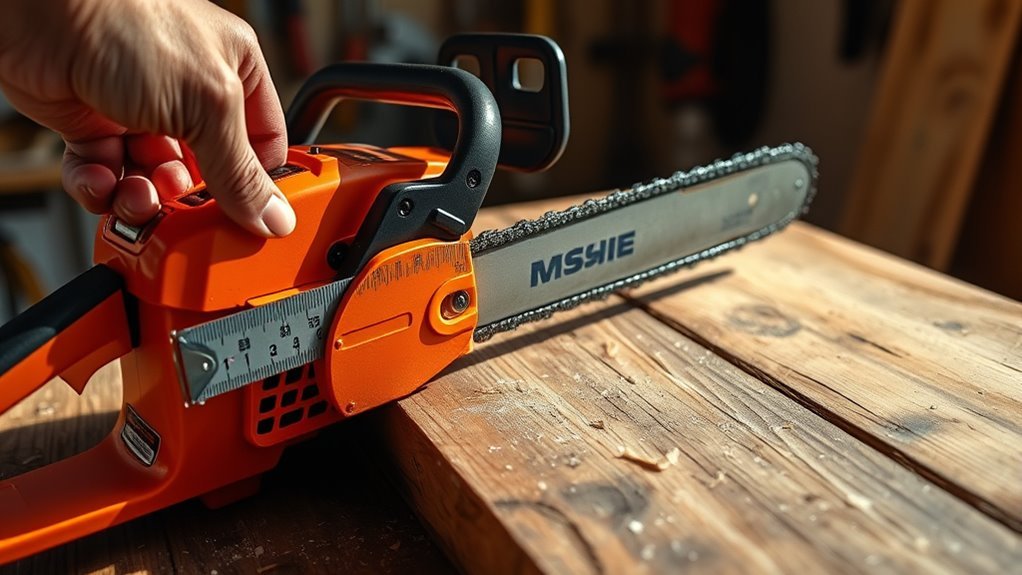
Since accurate measurement depends on precise points, you’ll want to measure from the very tip of the chainsaw bar straight to the center of the mounting slot where it attaches to the saw. Use reliable measurement tools like a tape measure or ruler to get an exact bar length.
Before you measure from tip to mounting slot, follow safety precautions: confirm the chainsaw is turned off and the chain is either removed or loosened for clear access. This method helps you determine the proper sizing needed for replacement or maintenance.
Your measurement should match the size printed on the chainsaw bar or correspond to the chainsaw chain drive links for suitable compatibility and performance. Accurate measuring ensures you select the right parts for your chainsaw.
Record and Round Up Your Measurement for Replacement
After measuring the chainsaw bar from the tip to the point where it enters the saw body, you should round up your measurement to the nearest even number to find a standard replacement size. This rounding step is essential because it ensures compatibility with common cutting chain sizes and maintains proper chain tension.
Always measure your chainsaw bar length accurately with a tape measure or ruler, especially if the bar markings are worn or unclear. Once you record your measurement, round up instead of down to avoid buying a bar that’s too short, which can affect cutting performance.
Finally, double-check that the rounded measurement matches available bar sizes to guarantee a proper fit when you replace the bar. Doing this helps ensure your chainsaw works efficiently and safely.
Frequently Asked Questions
How Do I Tell the Size of My Chainsaw Bar?
You can tell your chainsaw bar size by checking the length printed on it or measuring from the tip to where it meets the saw.
If the markings aren’t clear, try counting the drive links or consult the manual. That should give you the info you need!
How to Measure Bar Size?
You measure bar size by placing a tape measure from the tip to where the bar enters the chainsaw housing.
Round up to the nearest even number or check the printed size on the bar’s tail for accuracy.
It’s pretty straightforward once you get the hang of it! Just take your time to be precise.
What Is the Actual Length of a 20 Inch Chainsaw Bar?
Think of a 20-inch chainsaw bar as a ruler from tip to where it slides into the housing.
The actual length is about 20 inches, not counting the sprocket nose.
This ensures your chainsaw cuts just right.
Can I Put a 16-Inch Bar on a 14 Inch Chainsaw?
You can’t safely put a 16-inch bar on a 14-inch chainsaw unless your saw is rated for that length. Using a longer bar risks motor overload and damage.
Always check your manufacturer’s specs first. It’s really important to stick to what your chainsaw is designed for. That way, you avoid any costly repairs or safety issues.
Conclusion
Now that you’ve navigated the necessary steps, measuring your chainsaw bar becomes a simple, speedy skill. With careful care and clear calculation, you’ll confidently choose the correct chain and keep your cutting consistent.
Don’t dawdle—determine, document, and decide with dedication. Remember, regular measurement maintains machine might and maximizes your moments of mastery.
Keep your chainsaw sharp, safe, and smoothly slicing with these straightforward steps! Measuring your chainsaw bar accurately ensures you pick the right chain size, which boosts performance and safety. So, take a few minutes regularly to measure your chainsaw bar—it’s a small habit that makes a big difference in your cutting tasks.