Which Direction Does a Chain Go on a Chainsaw in 5 Easy Steps
Before handling your chainsaw chain, make sure it’s off and you’re wearing gloves. This is important for your safety and to avoid any accidental cuts.
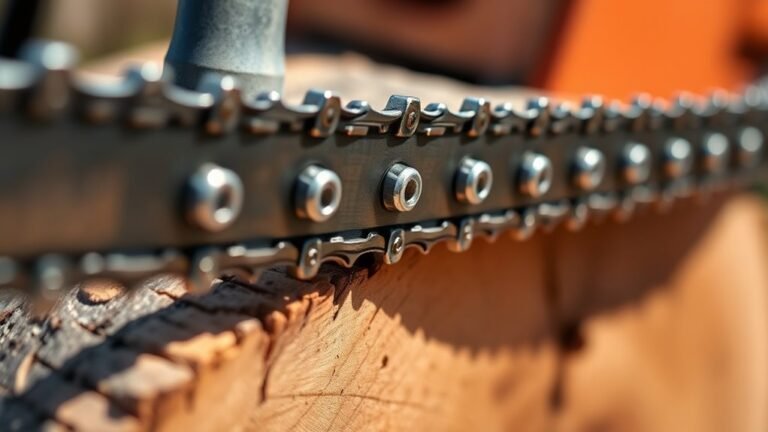
Next, check the chain for arrows showing its direction; the cutting teeth should face forward on the top of the guide bar. This ensures your chainsaw cuts efficiently and safely.
Remove the old chain by loosening the cover and lifting the bar. It’s a straightforward step, but take your time to avoid damaging any parts.
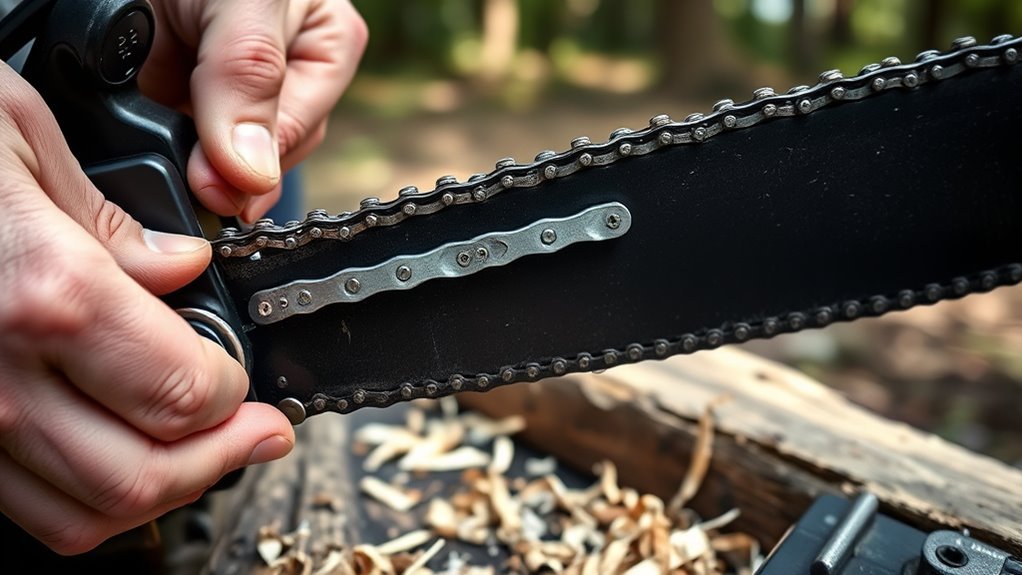
Place the new chain with teeth pointing away from the saw body, fitting the drive links into the guide bar groove. Make sure it sits properly in place before moving on.
Finally, adjust the tension so the chain moves smoothly but isn’t loose. Proper tension is key to both safety and performance.
Keep going to get more tips on safe installation.
Key Takeaways
- Ensure the cutting teeth point forward on the top of the guide bar, away from the chainsaw body.
- Look for stamped arrows or markings on the chain indicating the rotation direction.
- Position the chain so the sharp edges face away from the saw body toward the guide bar tip.
- Fit the drive links snugly into the guide bar groove, following the chain’s directional arrows.
- Confirm chain tension allows free movement with slight resistance before securing the sprocket cover.
Safety Precautions Before Handling the Chainsaw Chain
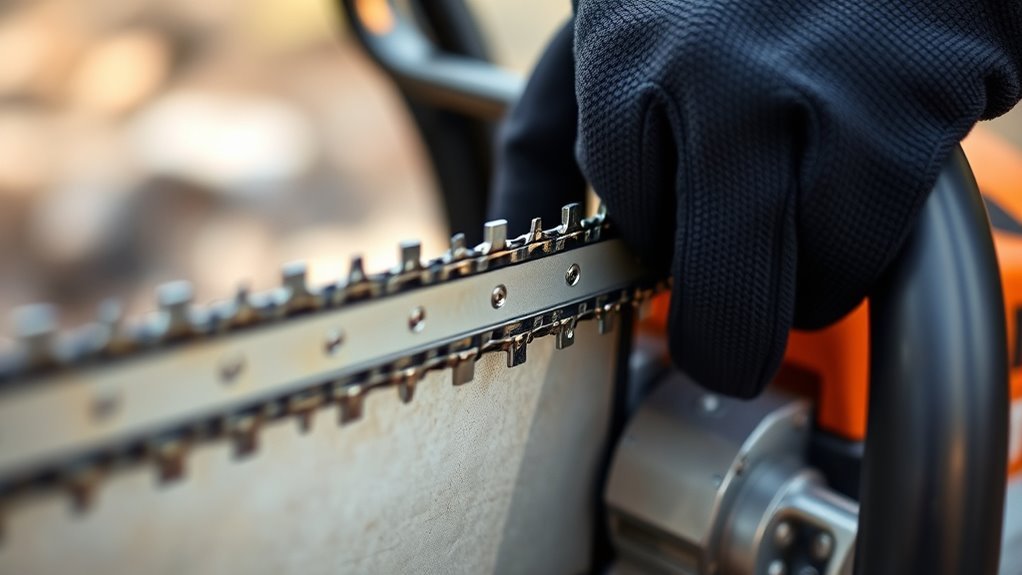
Before you handle the chainsaw chain, always disconnect the power source—whether that means removing the battery or turning off the engine—to prevent accidental startup. These essential safety precautions protect you from unexpected injuries.
Next, engage the chain brake to keep the chain from moving while you work. Make sure the chainsaw is off, cooled down, and stable before starting any maintenance.
Always wear gloves to shield your hands from sharp chain components during chain installation or adjustment. Use the proper tools, like a socket wrench or tensioning device, and follow the manufacturer’s safety instructions closely.
Proper handling of the chainsaw chain, combined with these steps, helps prevent injury and ensures your work goes smoothly without damage or accidents. It’s all about staying safe and making the job easier!
Identifying the Correct Chain Direction by Visual Inspection
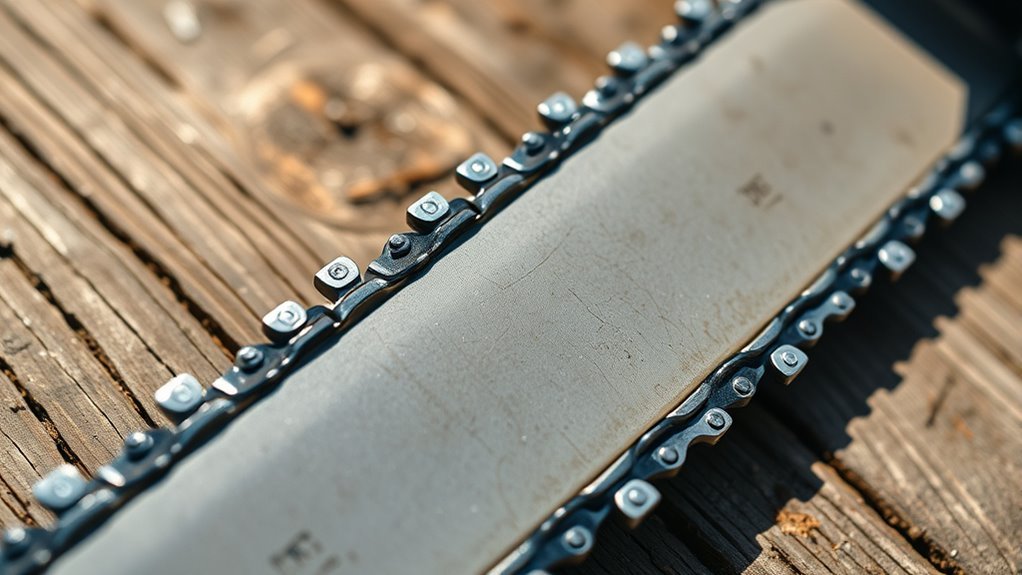
To identify the correct chain direction, start by looking for small stamped arrows or markings on the chain that show which way it should rotate.
During your visual inspection, check that the cutting teeth must point away from the chainsaw body, with sharp cutting edges facing forward along the guide bar. The teeth face forward on the top of the bar to ensure proper cutting action.
Confirm the drive links fit snugly within the guide bar groove, allowing smooth chain rotation. Proper chain tension is essential for correct chain installation, preventing slippage while cutting.
If the chain is reversed, the cutting teeth will point backward, reducing efficiency and safety. By carefully inspecting these details, you’ll ensure the chain direction is set for ideal performance and safety.
Removing the Old Chain and Preparing the Guide Bar
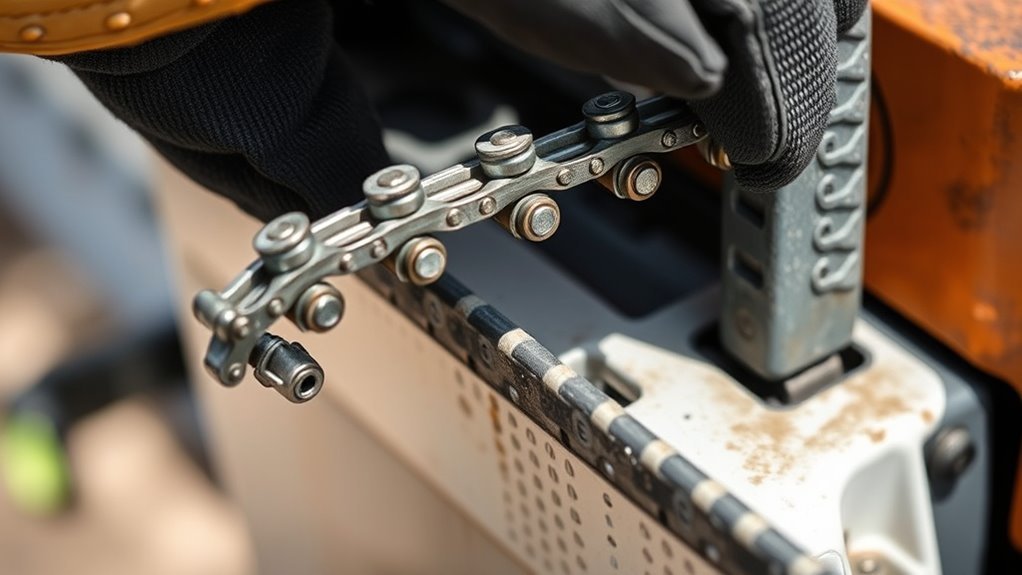
How do you safely remove the old chain from your chainsaw? First, turn off the chainsaw, disconnect the power source, and wear protective gloves.
Loosen the side cover nuts or quick-release latch to access the guide bar and chain assembly. Carefully lift the guide bar away from the drive sprocket, making sure the chain is slack so you can remove it without resistance.
Once removed, inspect the guide bar for any damage or worn spots. Pay close attention to the groove of the guide and the oiling hole.
Clean debris and sawdust thoroughly to ensure smooth chain installation. Proper preparation guarantees the correct chain orientation, with teeth pointing forward and sharp cutting edges aligned with the direction of rotation.
This setup helps with effective chain tensioning and keeps operation safe.
Installing the Chain With Teeth Facing the Right Way
Why does the direction of the chain teeth matter when installing your chainsaw chain? The teeth facing forward ensure efficient cutting and safety.
To install the chain properly, align the sharp cutting edges away from the chainsaw body, pointing toward the guide bar tip. Fit the drive links into the guide bar groove, following the correct chain direction.
Most chains feature directional arrows to assist chain orientation.
| Step | Action | Tip |
|---|---|---|
| 1 | Position chain on bar | Teeth facing forward |
| 2 | Check drive links | Fit into guide bar groove |
| 3 | Align sharp cutting edges | Point away from saw body |
| 4 | Follow stamped arrows | Confirm correct chain direction |
| 5 | Perform visual safety check | Ensure chain installation is correct |
Always confirm chain tension before use. It’s a quick step but super important for safety and performance.
Adjusting Chain Tension and Performing a Final Check
Although you’ve installed the chain correctly, you still need to adjust the tension to guarantee it moves smoothly without slack or binding. Start by ensuring the teeth face forward and the drive links have proper seating in the guide bar groove.
Then, use the adjustment screw: turn it clockwise to tighten or counter-clockwise to loosen the chain tension. The correct tension allows the chain to move freely around the guide bar with slight resistance when pulled by hand.
After adjustment, perform a final check by pulling the chain along the bar to confirm smooth chain movement without tight spots or slack. Finally, re-tighten the sprocket cover securely to keep the chain firmly in place during operation.
This ensures safe and efficient chainsaw use.
Frequently Asked Questions
How to Tell Which Direction a Chain Goes on a Chainsaw?
You’ll know the chain’s direction by checking the teeth—they should point toward the guide bar’s tip.
Look for arrows on the links, and make sure the chain moves smoothly in the cutting direction without resistance.
If it feels tight or gets stuck, flip it around and try again. That way, you’ll be sure it’s installed right!
Is There a Correct Way to Put a Chain on a Chainsaw?
Yes, you have to install the chain with the sharp edges facing forward toward the bar tip and follow the directional arrows on the links.
This guarantees proper cutting and prevents damage or poor performance.
It’s pretty straightforward once you get the hang of it! Just make sure you’re paying attention to those arrows and the sharp edges.
Can a Chainsaw Chain Be Put on Wrong?
Absolutely, you can accidentally attach a chainsaw chain backward. Doing so drastically diminishes cutting capability, causes dangerous damage, and disrupts durability.
Double-check the direction and details before you start. Also, make sure to dent sharp edges to do it correctly and confidently.
What Happens if I Put the Chainsaw Chain on the Wrong Way Round?
If you put the chainsaw chain on backward, you’ll get poor cutting, rough edges, and increased sparks.
It’ll heat up fast, wear out quickly, and could even cause dangerous kickbacks or the chain to jump off mid-cut.
Conclusion
Now that you’ve gently guided your chainsaw chain into place, you’re almost ready to dance with the wood. By making sure the teeth face forward and the tension feels just right, you’ve set the stage for smooth, confident cuts.
Remember, a well-prepared chain is like a trusty partner—ready to glide effortlessly and safely through every task. Keep these steps in mind, and you’ll keep your saw singing its sharp, steady song.
Knowing which direction a chain goes on a chainsaw is key to safe and effective cutting. Follow these simple steps to install and tension your chain correctly. With the right setup, your chainsaw will perform better, last longer, and help you tackle any woodcutting job with ease and confidence.