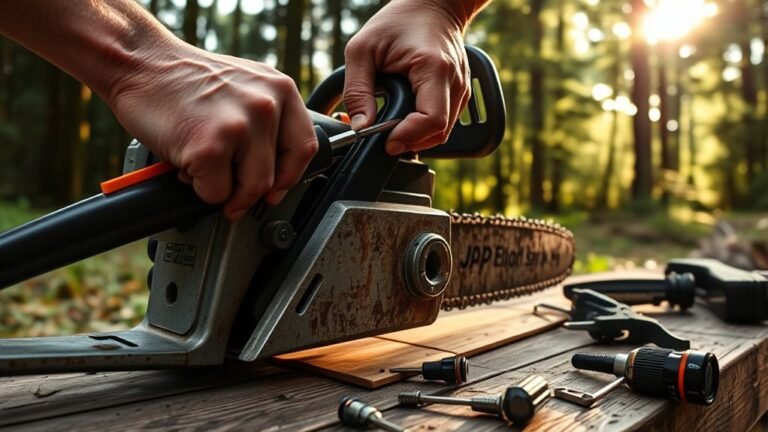
How Does a Chainsaw Chain Go in the Correct Direction in 3 Simple Steps
To fit your chainsaw chain correctly and ensure it moves in the right direction, start by looking for arrow markings or the sharp teeth pointing forward toward the bar tip. These indicators help you identify the correct orientation of the chain. Getting this step right is essential for safe and efficient cutting.
Next, place the chain so its drive links sit snugly in the bar groove. Make sure the cutting edges face the correct rotation direction. This positioning allows the chainsaw to cut smoothly and prevents damage to the chain or bar.
Finally, tighten the chain until it’s snug but can still move freely. Maintaining slight slack is important for safety and proper operation. Keep these steps in mind, and you’ll be ready to explore how to keep your chain tensioned and secure while working.
Key Takeaways
- Look for arrow markings on the chain indicating the cutting direction toward the guide bar tip.
- Position the chain so sharp cutting teeth face forward and sit on top aligned with the bar’s rotation.
- Fit the drive links snugly into the guide bar groove matching the chain’s natural curve.
- Ensure depth gauges are positioned just ahead of the cutting teeth before installation.
- Confirm proper chain tension with slight slack and smooth movement before tightening the side cover.
Identify the Correct Chain Orientation
Before you install your chainsaw chain, make sure the sharp cutting edges face forward toward the tip of the guide bar; this guarantees it cuts efficiently and safely. To identify the correct orientation, look for arrow markings stamped on the chainsaw chain—these indicate the proper chain direction.
When you place the chain on the guide bar, ensure the teeth pointing forward sit on the top side, ready to bite into the wood. The chain should fit snugly in the bar groove, with the sharp cutting edges aligned correctly.
Double-check that the depth gauges sit just ahead of the teeth. Proper chain tension matters too, but first, focus on confirming the teeth pointing forward and matching arrow markings before you install the chain to avoid poor cutting performance or damage.
Remove and Position the Chain Properly
When you’re ready to remove the chain, turn off your chainsaw, disconnect its power source, and put on protective gloves to keep yourself safe. Loosen the side cover bolts or quick-release knob to access the guide bar and chain.
Carefully lift the chain off the drive sprocket, noting its natural curvature, and remove it from the bar groove. For correct chain installation, position the chain so the sharp teeth face forward, toward the bar tip.
Make sure the cutting edges align properly with the correct rotation, and the drive links fit snugly within the bar groove. This ensures the forward teeth cut efficiently.
Proper positioning before adjusting chain tension prevents issues during operation and maintains safety and performance. It’s a small step that makes a big difference!
Secure and Tension the Chain Correctly
Securing and tensioning the chain correctly keeps your chainsaw running smoothly and safely. After confirming the chainsaw chain is in the correct direction, you need to secure the chain on the guide bar properly.
Begin by ensuring the chain sits snugly against the guide bar without sagging. With chain installation complete, perform chain tensioning by tightening the tension screw until the cutting teeth just touch the underside of the bar when you pull the chain gently.
The chain movement should be smooth with about 1/4 inch of slack when lifted from the middle of the guide bar. Avoid over-tightening, as it causes excessive wear and reduces tool lifespan.
Make it a habit to regularly check and adjust tension during use. This way, you’ll maintain safety and keep your chainsaw performing at its best.
Frequently Asked Questions
How Do You Know Which Direction a Chain Goes on a Chainsaw?
You know the chain’s direction by checking the sharp teeth face away from the saw body and toward the guide bar tip. Look for stamped arrows pointing forward, and guarantee the top teeth cut into the wood correctly.
It’s pretty simple once you know what to look for. Just make sure the teeth are facing the right way so your cuts come out clean and efficient.
Is There a Correct Way to Put a Chain on a Chainsaw?
Absolutely, you want to treat your chainsaw chain with care. You’ll install it so the sharp teeth face forward, guided by the arrows on the links.
This ensures smooth, safe cutting every time you fire it up. It’s all about getting it right, so your chainsaw works like a charm!
Can a Chainsaw Chain Be Put on Wrong?
Yes, you can put a chainsaw chain on wrong.
If the teeth face the wrong way, it won’t cut well and may even damage the chain or saw.
What Happens if I Put the Chainsaw Chain on the Wrong Way Round?
If you put the chainsaw chain on backward, it won’t cut wood efficiently—it’ll just create sawdust. You’ll struggle with control, risk kickback, and wear out the chain faster, making your job harder and unsafe.
Basically, the chain’s cutting teeth need to face the right way to bite into the wood properly. When reversed, they can’t do their job, so you end up pushing the saw without much cutting happening. Not fun and definitely not safe!
Conclusion
Now that you know how to identify the correct chain orientation, position it properly, and secure it with the right tension, putting your chainsaw chain on correctly is a breeze.
Following these simple steps guarantees your chainsaw runs smoothly and safely every time. So, why risk frustration or injury when a little care makes all the difference?
Take your time, get it right, and enjoy effortless cutting with confidence. Properly installing your chainsaw chain not only improves performance but also enhances safety during operation.
Remember, a correctly fitted chainsaw chain means less downtime and more efficient work. Keep these tips in mind, and you’ll master the process in no time!