Which Way Does a Chain on a Chainsaw Go in 5 Easy Steps
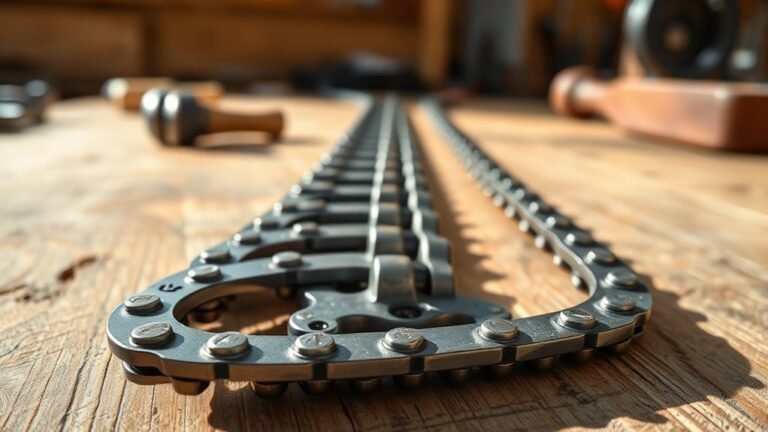
To install your chainsaw chain correctly, you’ll want to start by identifying the cutting teeth. These teeth have a sharp beveled edge that points forward. This step is crucial because the chain’s direction affects how well your chainsaw cuts.
Next, look closely for any directional markings or arrows on the chain. These markings confirm the right direction for installation, making sure you avoid putting the chain on backward.
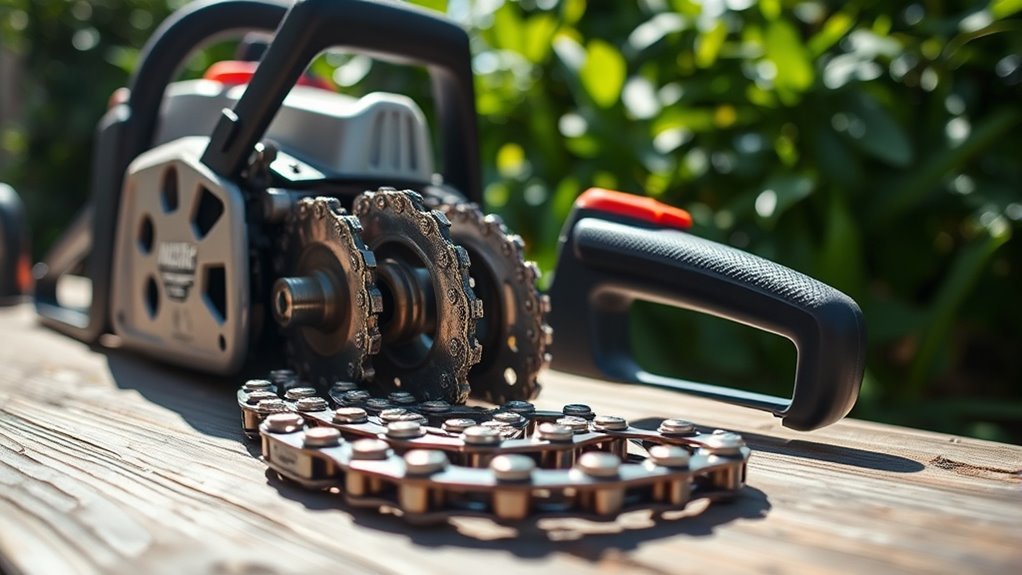
Then, fit the chain onto the guide bar, ensuring the cutting edges face forward. Also, make sure the drive links sit snugly in the groove of the bar. This alignment helps the chain run smoothly and safely.
After that, rotate the chain by hand to check for smooth movement and proper alignment. It shouldn’t be too tight or too loose at this point.
Finally, adjust the chain tension until the chain snaps back slightly when pulled. Proper tension is key to safe and efficient cutting.
Keep going to uncover more helpful tips for chainsaw maintenance and use!
Key Takeaways
- Identify the cutting teeth by their sharp beveled side pointing forward. This shows the chain’s direction of rotation.
- Look for any directional arrows or markings on the chain links. These indicate the proper cutting direction.
- Position the chain on the guide bar so the cutting edges face forward. Make sure it matches the bar’s tip direction.
- Manually rotate the chain to check for smooth movement. This helps ensure it sits correctly in the bar groove.
- Adjust chain tension by tightening it until it snaps back about 1/4 inch. Avoid sagging or making it too tight.
Identify the Cutting Teeth Orientation
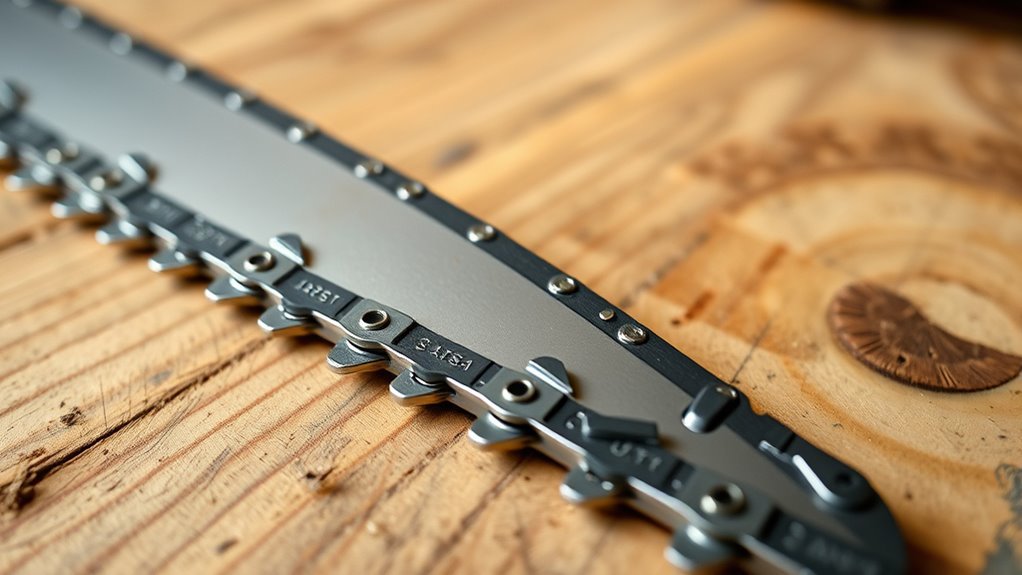
How can you tell which way the cutting teeth on your chainsaw chain face? First, look closely at the teeth’s shape. The cutting edges have a sharp, beveled side angled forward to slice into the wood, usually at about 30 to 35 degrees.
This bevel points in the direction the chain should move. On the opposite side, the teeth are flat and don’t cut. By spotting this contrast, you can quickly identify the cutting direction.
Remember, the teeth only cut in one direction—forward along the chain. Checking the grind angle and bevel helps you avoid installing the chain backward, which would reduce cutting efficiency and increase wear.
Locate Directional Markings on the Chain
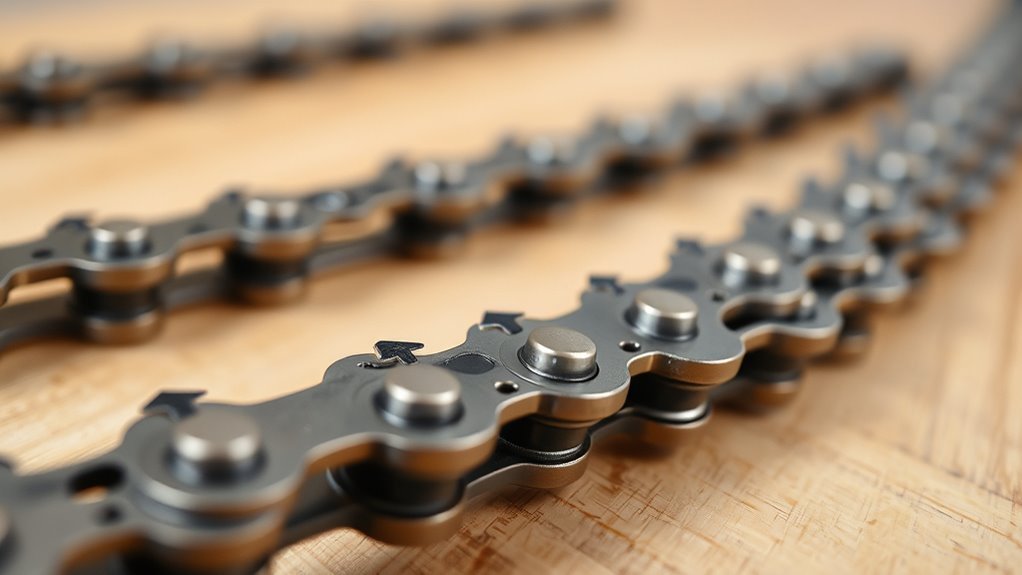
Where can you find clear clues to guarantee your chainsaw chain goes the right way? Look closely at the chain itself for built-in directional markings. These indicators ensure you install the chain correctly for safe, efficient cutting.
Here’s where to check: stamped or engraved arrows on the side of the chain links point in the cutting direction. Small directional arrows or marks on each link confirm proper orientation before installation.
Look for stamped or engraved arrows on chain links showing the correct cutting direction before installation.
You might also spot colored dots or symbols, which match specific installation sides for guidance. Always verify these markings align with the bar’s drive sprocket direction. This step prevents incorrect placement and ensures your chainsaw operates smoothly and safely.
Paying attention to these details makes your chain setup straightforward and reliable. It’s a simple way to keep things running right every time you use your chainsaw.
Position the Chain on the Guide Bar Correctly
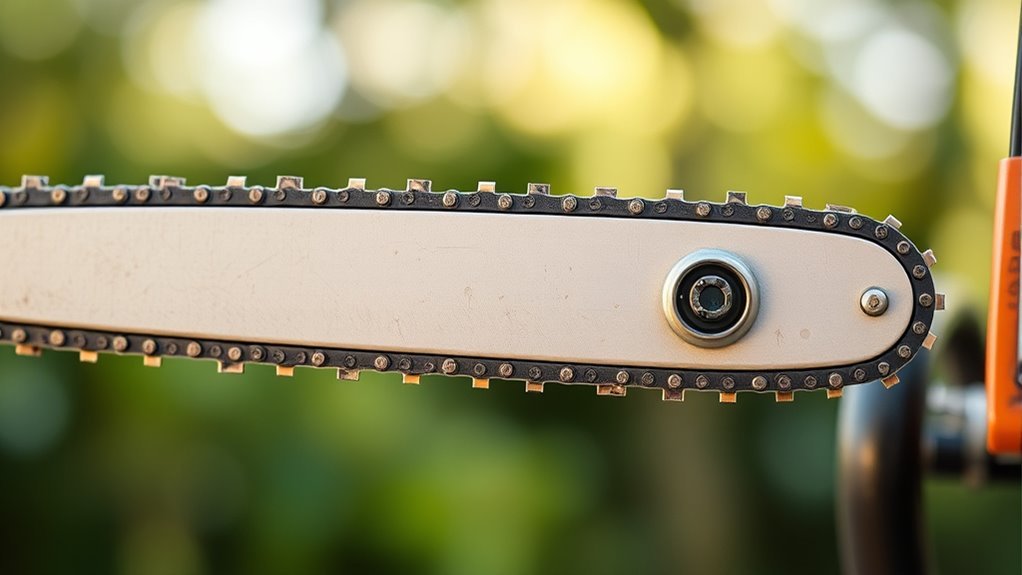
After spotting the directional markings on your chain, the next step is to position the chain correctly on the guide bar. First, confirm the cutting edges face toward the front of the guide bar—the direction the bar nose moves during cutting.
Locate the drive link’s wider section and fit it snugly into the groove along the guide bar. Pay close attention to the sharp, beveled edges of the teeth; they should point forward on the top side of the bar, matching the cutting direction.
Make sure the chain sits evenly around the bar without twisting. Properly positioning the chain is essential before you tighten the sprocket cover, but don’t tighten it fully just yet—you’ll verify smooth movement and alignment in the next step.
Verify Smooth Movement and Proper Alignment
Although you’ve positioned the chain on the guide bar, you still need to make certain it moves smoothly without binding or sticking. Start by manually rotating the chain to check its movement.
If you feel resistance or rough spots, the chain may not be seated correctly. Next, verify the chain’s cutting edges face the right direction, usually indicated by arrows or guide marks on the bar.
Also, ensure the drive links sit properly in the bar groove to maintain alignment during operation.
To summarize, check that you:
- Rotate the chain by hand to confirm smooth movement
- Align cutting edges following the guide bar’s direction
- Seat drive links correctly in the bar groove for proper tracking
This ensures your chainsaw runs safely and efficiently.
Secure and Adjust Chain Tension Properly
Since proper chain tension affects both safety and cutting performance, you’ll want to adjust it carefully before using your chainsaw. Start by loosening the chain tensioner to avoid damaging the guide bar or sprocket.
Proper chain tension is crucial for safety and performance; begin by loosening the tensioner to protect your chainsaw components.
Then, pull the chain away from the guide bar and tighten the tensioner gradually until the chain snaps back about 1/4 inch. Make sure the chain fits snugly against the underside of the bar without sagging.
After running the saw for a few minutes, recheck the tension because chains tend to loosen during operation. The chain should move smoothly without binding or excessive slack.
Proper tension ensures safer handling and more efficient cutting, so take your time to get it right before you start your work. It’s worth the effort!
Frequently Asked Questions
Which Direction Do Chainsaw Chains Go?
You’ll want the chainsaw chain’s cutting teeth facing forward on the top of the bar, moving away from the saw’s body.
Check for arrows on the chain to verify it’s installed correctly and cuts efficiently.
It’s pretty easy to get mixed up, but those arrows are a great little guide. Just follow them, and you’ll be good to go!
What Happens if You File Rakers Too Low?
What happens if you file rakers too low? You’ll get an aggressive, unsafe cut that risks kickback and dulls the chain faster.
Don’t sacrifice safety and smooth cutting by lowering rakers excessively—keep them balanced for best results.
Does It Matter if a Chainsaw Bar Is Upside Down?
Yes, it matters if your chainsaw bar is upside down. You’ll face poor cutting performance, increased wear, and safety risks.
Always install the bar correctly, following markings to guarantee proper chain direction and tension. It really makes a difference!
How to Flip a Chainsaw Chain?
To flip a chainsaw chain, first free the bar and chain by loosening the nuts. Then, flip the chain carefully, reversing the cutters’ direction.
Finally, fit it back, facing teeth forward, and firmly fasten the nuts. It’s pretty straightforward once you get the hang of it!
Conclusion
Now that you know which way the chain goes, you’re ready to take on any cutting job like a pro. Just remember, the teeth should face forward on the top of the bar, moving away from you.
Secure it tight, check the tension, and your chainsaw will sing through wood smoothly. With these steps, you’ll cut through tasks effortlessly—like slicing through butter on a warm day.
Keep that chain sharp and steady! Proper chain direction and tension not only improve cutting efficiency but also ensure your safety while using the chainsaw. By following these simple steps, you’ll master chainsaw maintenance and be prepared for all your woodcutting needs.