
How to Measure Chainsaw Length in 10 Easy Steps
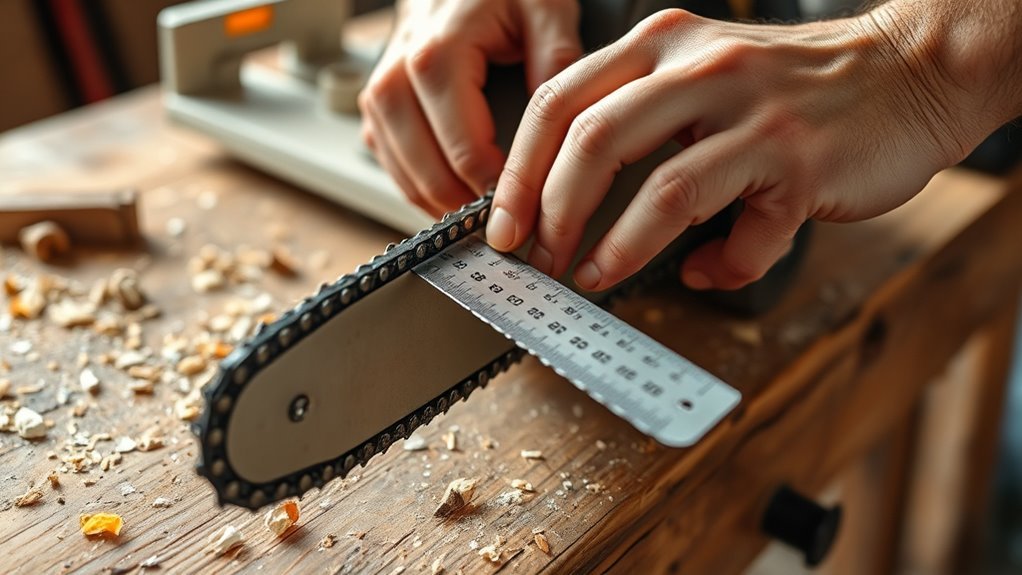
To measure your chainsaw length accurately, start by ensuring the chainsaw is completely off and cooled down. Safety first! Then, place it on a flat surface so it stays steady while you measure.
Next, identify the tip of the bar and the mounting point near the sprocket. These two points mark the total length of the chainsaw bar. Grab a tape measure and record the distance from the mounting point to the tip of the bar. This is your chainsaw length.
But wait, there’s more to check! Look at the chain pitch, gauge, and count the number of drive links. These details are crucial for making sure your chain fits perfectly.
Always double-check all your measurements against your chainsaw’s specifications to avoid any mistakes. Keep following these steps, and you’ll master measuring your chainsaw length in no time!
Key Takeaways
- Turn off and cool the chainsaw, then place it on a stable surface for safe and accurate measurement. This helps you avoid any accidents and ensures you get the right length.
- Measure from the bar tip to the mounting point near the drive sprocket, but make sure to exclude any non-cutting parts. You want to get the true cutting length of the bar.
- Use a calibrated tape measure aligned along the bar’s edge for precise length measurement. This way, you won’t guess and can trust your numbers.
- Count the chain drive links and measure the chain pitch too. This helps you confirm the chain matches the bar size perfectly.
- Check the bar groove width with a gauge. Doing this confirms the chain fits properly and helps prevent premature wear.
Prepare Your Chainsaw for Measurement
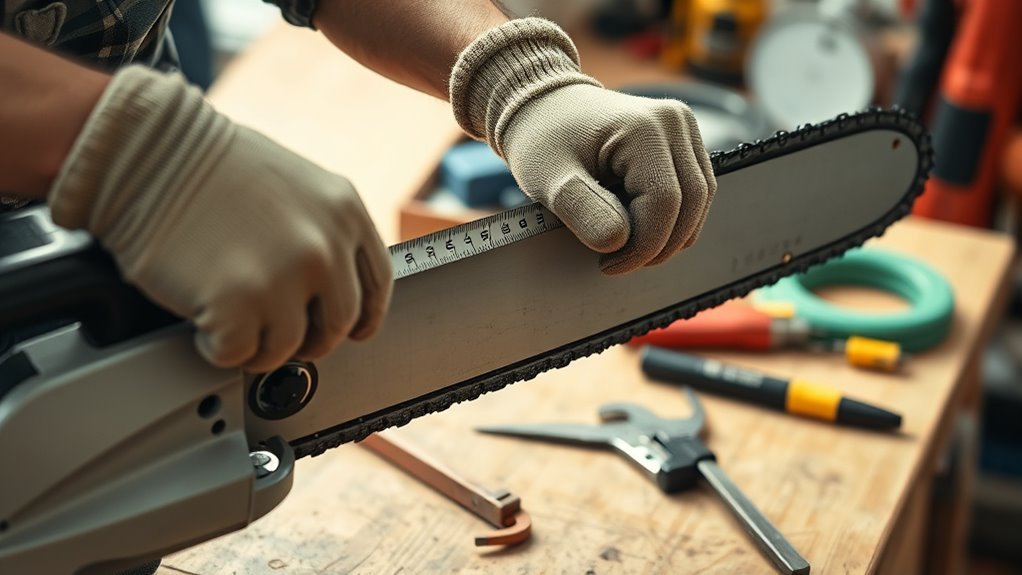
Before you measure your chainsaw, make sure it’s turned off and unplugged or that the spark plug wire is disconnected to prevent it from starting accidentally. Safety is your top priority during preparation.
Always ensure your chainsaw is off and disconnected before measuring to prioritize safety.
If you’ve recently used the chainsaw, let it cool down to avoid burns. Next, place the chainsaw on a flat, stable surface to ensure an accurate bar length measurement.
Remove or loosen any side covers or screws securing the bar so you can access its full length. Clean the bar and surrounding area thoroughly, removing any sawdust or debris that could interfere with your measurement.
Taking these preparation steps helps you measure your chainsaw’s bar length precisely and safely, avoiding any mishaps or errors during the process.
Identify the Tip of the Chainsaw Bar
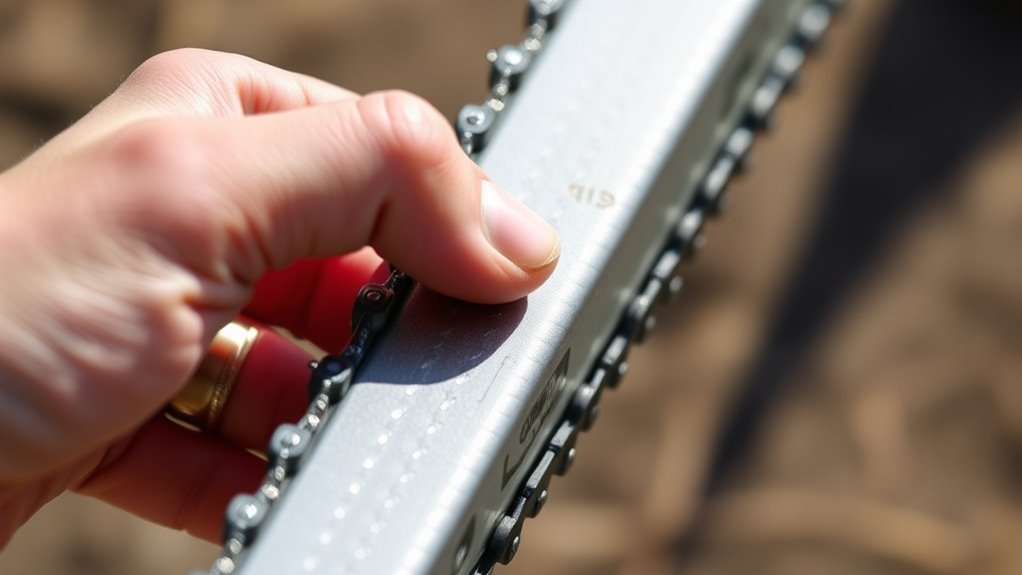
Where exactly is the tip of your chainsaw bar? The chainsaw tip is the rounded or tapered bar end that extends just beyond the chain sprocket.
To identify it, find the smooth, slightly curved metal guide bar front—often with a small metal bumper to protect against wood contact. When you measure length, ensure you start at the chain mounting point and end at this tip for an accurate measurement. Avoid including the sprocket nose or any non-cutting parts.
| Chainsaw Tip | Bar End Details |
|---|---|
| Rounded, smooth end | Reinforced for durability |
| Extends beyond sprocket | Key for accurate measurement |
| Frontmost part of bar | Helps define cutting length |
Locate the Mounting Point of the Chainsaw Bar
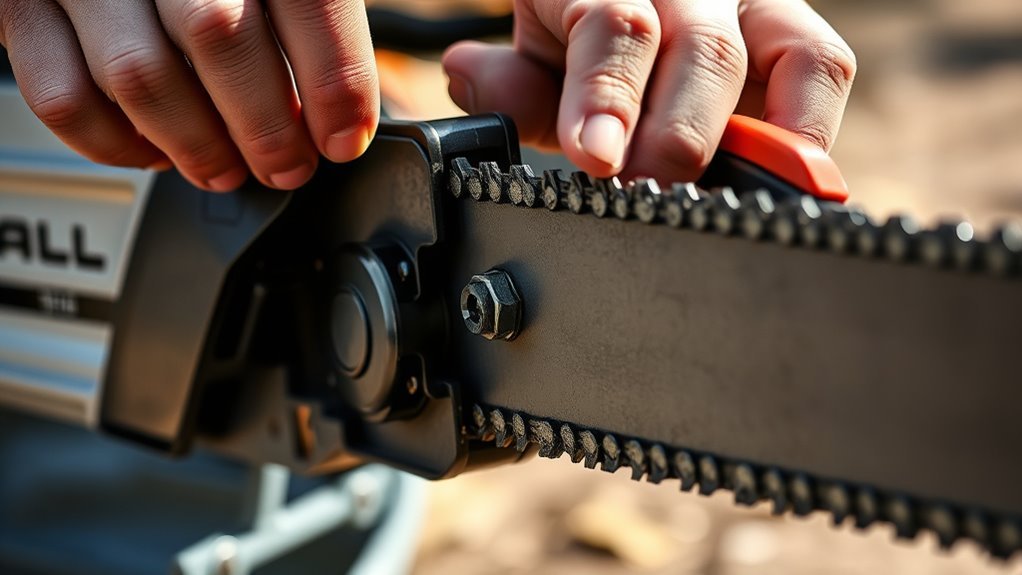
To locate the mounting point of the chainsaw bar, start by identifying where the bar attaches to the main body near the drive sprocket. Check the connection area for bolts or screws that secure the bar in place.
You’ll want to pay close attention to the mounting hardware’s location, which is often under a removable cover. This makes it a bit easier to access and adjust. Just take your time checking those spots carefully.
Identify Bar Attachment Area
How do you find the exact spot where the chainsaw bar attaches to the engine housing? Start by locating the bar connection, usually near the front of the saw. Look for mounting bolts or screws that secure the chainsaw bar to the body.
This attachment point often features a metal plate or bar with holes or slots for these bolts. Sometimes, you’ll need to remove a cover plate or tensioning mechanism to access the mounting hardware.
Identifying this measurement area is vital because you measure the bar length starting from this attachment point to the tip. By clearly spotting the bar connection and mounting bolts, you guarantee accurate measurement and proper understanding of your chainsaw’s setup.
Check Bar-Saw Connection
Although it might seem straightforward, checking the bar-saw connection requires careful attention to make certain the chainsaw bar is securely mounted. First, ensure the saw is off, cooled down, and the spark plug wire is disconnected for safety.
Locate the bar’s mounting point near the drive mechanism at the saw’s front. Inspect the bar base for mounting holes or brackets that align with screws or studs on the saw. The connection often uses a fastening plate or clamp to hold the bar firmly against the engine housing.
When you check this area, focus on the position near the drive mechanism and alignment of mounting holes. Also, take a look at the condition of screws or bolts, and make sure the fastening plate or clamp is secure. You definitely don’t want any looseness or damage here.
This guarantees a reliable bar connection for accurate measurement. It’s a simple step that makes a big difference.
Observe Mounting Hardware Location
Since the mounting point holds the chainsaw bar firmly in place, you’ll want to locate it carefully near the sprocket nose where the bar connects to the engine housing.
First, make sure the chainsaw is off, cool, and the chain brake is engaged for safety. Then, examine the area around the sprocket to find the mounting hardware—usually bolts or screws—that secure the chainsaw bar.
This spot marks the bar connection and is essential for proper chainsaw mounting. Identifying this exact location helps you accurately measure chain length, as the chain size depends on the bar length fixed at this mounting point.
Use Proper Measuring Tools
To measure your chainsaw length accurately, use a calibrated tape measure or calipers with clear markings. Choose a tool that fits the bar’s shape and extends beyond its length to avoid guessing.
Make sure the tool stays steady as you measure to get precise results. It really helps to take your time and be patient with this step. That way, you’ll get the most accurate measurement possible.
Select Accurate Measuring Tools
When measuring your chainsaw bar, you’ll want to use a flexible tape measure or a rigid ruler marked in inches or centimeters to make certain of accuracy. Selecting the right measuring tools is vital for an accurate measurement of your chainsaw’s length.
Here’s what to keep in mind:
- Choose a clean tape measure or ruler free from debris.
- Use a tape measure that extends fully without sagging for longer bars.
- Align the measuring tool along the entire bar, from tip to attachment point.
- Double-check your measurement to avoid errors, especially with curved bars.
- Prefer tools with clear, easy-to-read markings to guarantee precision.
Using proper measuring tools helps you get the exact length you need. This way, you avoid mistakes and improve your chainsaw’s performance.
Use Calipers or Tape
Accurate measuring tools like tape measures and rulers set the foundation for precise chainsaw measurements. When measuring bar length, you can choose calipers or a tape measure for reliable results.
If you use calipers, place their tips at the bar’s tip and where it connects to the saw housing, then note the reading carefully. With a tape measure, lay the saw flat, extend the bar fully, and measure from the tip to the attachment point, excluding non-cutting parts.
Always verify the chainsaw is off, cooled, and the chain brake is engaged before measuring. To boost accuracy, double-check your measurements at different points along the bar.
Using these tools correctly guarantees you get an exact bar length, essential for safe and effective chainsaw use.
Ensure Tool Calibration
Although having the right measuring tool is important, verifying your tape measure or ruler is properly calibrated makes all the difference in getting precise chainsaw bar measurements. Using a calibrated tape measure guarantees accurate measurement, helping you avoid costly mistakes.
A reliable measuring tool with precise markings ensures you capture the exact length without guesswork. Regular tool calibration checks prevent errors caused by wear or damage.
Follow these tips for best results:
- Use a calibrated tape measure or ruler with clear, precise markings
- Inspect your measuring tool for damage or worn edges
- Compare your tool against a known standard periodically
- Keep the tape flat and straight along the bar’s length
- Choose tools certified for accuracy when precision is critical
This approach ensures every measurement is spot-on.
Measure the Total Length of the Chainsaw Bar
Since the chainsaw bar’s length directly affects cutting performance, you’ll want to measure it carefully from the tip to where it connects to the saw body, excluding any mounting hardware.
To measure total length accurately, lay a tape measure flat along the bar’s edge, ensuring it stays straight. Focus on the cutting section only — avoid including the rounded, non-cutting end or any overhanging parts.
This bar measurement gives you the true chainsaw bar length vital for proper blade replacement or adjustment. Record your measurement in inches or centimeters, based on your preference.
Finally, confirm that your measured length matches the size stamped on the bar or specified in the saw’s manual to guarantee compatibility and peak cutting performance.
Measure the Effective Cutting Length
Now, focus on identifying the effective cutting portion of the bar by measuring from the tip to where it connects to the saw housing. Make sure you only measure the part that actually cuts wood, excluding any non-cutting sections.
This will give you an accurate idea of the chainsaw’s true cutting length. It’s all about knowing exactly how much of the bar is doing the work.
Identify Cutting Portion
How do you determine the effective cutting length of your chainsaw? Start by identifying the exact cutting portion of the bar, which directly impacts your bar size and cutting length.
Here’s how you can measure the chain’s effective cutting length accurately:
- Place the chainsaw on a flat surface with the chain slackened or removed.
- Locate the tip of the bar where the chain starts cutting, usually the rounded or flat end.
- Measure from the tip of the bar straight to where the bar attaches to the saw body.
- Exclude any non-cutting parts like mounting hardware or the bar’s nose section.
- Record this measurement to know your true effective cutting length for precise bar size selection.
This method ensures you measure the chain’s actual cutting length, not just the total bar size. Easy, right? Just follow these steps, and you’ll be all set!
Measure From Bar Tip
Before measuring, turn off your chainsaw and let it cool down. Engage the chain brake and disconnect the spark plug wire to guarantee your safety.
Place the chainsaw on a flat, stable surface with the bar facing upward. Make sure the chain isn’t tensioned, as that can affect your measurement.
To measure length accurately, use a tape measure or ruler. Measure straight from the bar tip—the very end of the chainsaw bar—to where it connects to the saw housing.
Focus only on the cutting length. That’s the part that actually contacts wood during cutting, so exclude any non-cutting sections.
Once you have the effective cutting length, compare it to the manufacturer’s specs. This way, you can be sure you have the proper sizing for your chainsaw bar.
Measure the Chain Pitch
To measure the chain pitch accurately, start by removing the chain from your saw for easier handling. Lay it flat on a surface and find three consecutive rivets along the chain loop.
Use a ruler or caliper to measure the distance between the centers of the first and third rivet. Then, divide that number by two to get the chain pitch, which is usually in inches.
Measure between the first and third rivet centers, then divide by two to determine the chain pitch.
This measure is key to ensuring compatibility with your chainsaw bar and sprocket. So, it’s worth taking your time to get it right.
Keep these points in mind when you measure chain size:
- Remove chain for easier handling
- Locate three consecutive rivets
- Measure distance between first and third rivet centers
- Divide measurement by two to find chain pitch
- Confirm chain pitch matches bar and sprocket for compatibility
Also, don’t confuse chain pitch with chain gauge—they’re different measurements altogether.
Measure the Chain Gauge
Although measuring chain pitch is essential, you’ll also need to measure the chain gauge to guarantee your chainsaw runs smoothly. To measure the chain gauge, use a caliper or an Oregon measuring tool to check the bar groove width, which usually ranges between 0.043″ and 0.063″.
Insert the chain’s drive links into the gauge slots, ensuring a snug fit without excessive play. The correct chain gauge fits tightly but isn’t forced, confirming proper chain compatibility.
You can also verify the gauge by comparing it to the stamped markings on your chainsaw or bar. These often indicate the recommended chain gauge.
Accurately measuring the chain gauge prevents chain binding and excessive wear. This ensures your chainsaw operates safely and efficiently alongside the chain pitch you’ve already measured.
Count the Number of Drive Links in the Chain
Counting the number of drive links in your chainsaw chain is a crucial step for guaranteeing you select the right replacement or size a new chain correctly.
Accurately counting drive links ensures you choose the perfect replacement chain for your saw.
To measure accurately, lay your chain flat with the drive links facing up. Wear gloves for safety and count each drive link carefully, preferably in pairs, to avoid mistakes. This count directly affects chain length and compatibility, complementing the chain gauge measurement you’ve already taken.
Here’s how to count drive links effectively:
- Lay the chain flat and spread evenly
- Wear gloves to protect your hands
- Count each drive link systematically, in pairs
- Record the total number of drive links
- Use the count to confirm chain length and compatibility
This ensures you get the correct chain for your saw.
Verify Measurements Against Manufacturer Specifications
Before you finalize your chainsaw measurements, make sure you double-check them against the manufacturer’s specifications. Use a tape measure to get an accurate measurement of the bar length, measuring from the tip of the bar to where it attaches to the saw, excluding any non-cutting parts.
Next, compare this measurement with the manufacturer specifications found in your user manual or on the saw’s label. Don’t forget to check the stamped markings on the side of the bar, which often indicate the correct bar length.
Verifying that your measured bar length matches the manufacturer’s recommended range ensures your chainsaw runs safely and efficiently. This step is essential before purchasing or replacing a bar to avoid compatibility issues and maintain peak performance.
Frequently Asked Questions
How to Find Chainsaw Length?
You find chainsaw length by measuring the bar from tip to where it meets the saw housing, excluding the sprocket nose. Use a tape measure along the bar’s edge, ensuring the saw is off and safe to handle.
It’s pretty straightforward once you get the hang of it. Just remember to be careful and double-check your measurements for accuracy.
What Does LP Mean on a Chainsaw?
You know what they say, “Don’t judge a book by its cover.”
LP on a chainsaw means Low Profile. It’s designed for lighter saws with smoother cuts and less kickback.
This helps you match the right chain and bar efficiently.
How Many Links Are in a 24 Inch Chainsaw Chain?
A 24-inch chainsaw chain usually has about 66 links if it’s a standard 3/8-inch pitch.
You’ll want to count each link carefully or check your manual to make sure you get the right fit.
It’s always better to double-check so your chainsaw runs smoothly and safely.
Can I Put a 20 Inch Bar on a 16-Inch Chainsaw?
Like fitting a large puzzle piece, you can install a 20-inch bar on a 16-inch chainsaw if your saw’s engine and design support it.
Always check specs first to avoid damaging your chainsaw’s motor. It’s a good idea to make sure everything matches up before you make the switch.
Conclusion
Measuring your chainsaw might seem straightforward, but overlooking details like chain pitch or gauge can turn a simple task into a costly mistake. While the bar length gives you a quick size, the finer measurements guarantee safety and performance.
Don’t just rely on the obvious—dig deeper. By combining quick checks with precise measurements, you’ll keep your chainsaw running smoothly and avoid unnecessary downtime.
It’s not just about length; it’s about doing it right. Proper chainsaw measurement ensures you select the correct chain and bar, which enhances cutting efficiency and safety. Taking the time to measure accurately can save you money, prevent damage, and extend the life of your tool.
So next time you measure your chainsaw, remember these key points: check the bar length, chain pitch, and gauge carefully. Doing this helps you maintain optimal performance and keeps your chainsaw ready for any job.


