How to Size a Chainsaw Chain in 10 Easy Steps
To size your chainsaw chain correctly, start by removing the chain and laying it flat on a surface. Next, measure the total length or count the number of drive links. This gives you an initial idea of the chain size.
Then, detach the guide bar and measure it from the tip to the mounting point. Don’t forget to check for any size markings on the bar or the chain itself. These markings usually include important details like pitch, gauge, and drive link count.
For more precise measurements, use a caliper to measure the pitch and gauge. Be sure to match all these measurements with your chainsaw’s specifications.
This helps you pick the right replacement chain that fits perfectly.
Keep reading to discover detailed tips and tricks for perfect chainsaw chain sizing every time!
Key Takeaways
- Remove the chain and lay it flat to measure total length or count drive links accurately.
- Measure the guide bar length from tip to where it attaches, rounding to the nearest standard size.
- Locate and read size markings on the guide bar or chain for pitch, gauge, and length information.
- Measure pitch by spacing between rivets, gauge by drive link width, and count total drive links for verification.
- Match pitch, gauge, and drive link count exactly to select the correct replacement chain for your saw.
Locate Size Markings on the Chainsaw Guide Bar
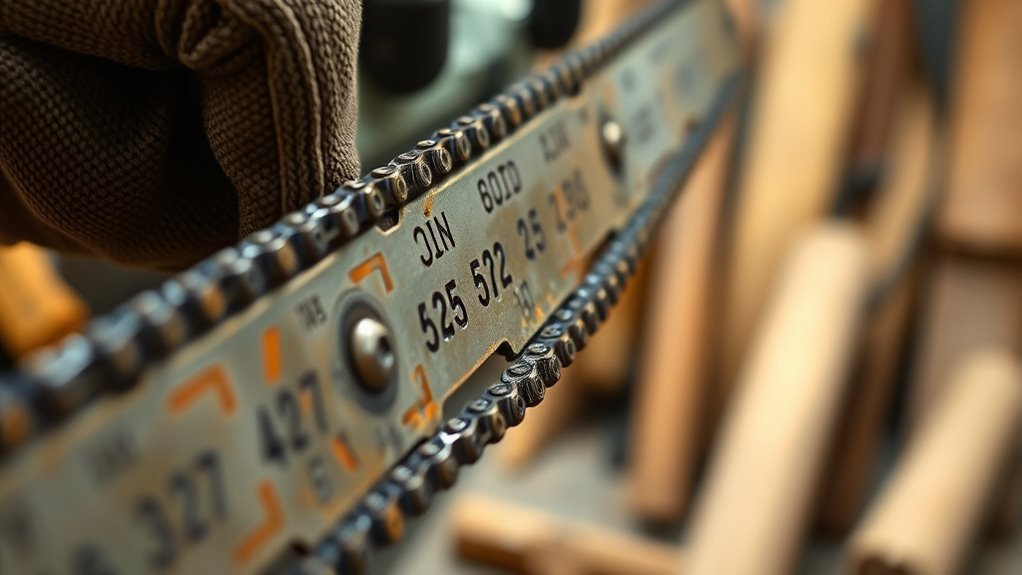
When you need to size a chainsaw chain, start by locating the size markings on the guide bar. Most guide bars have this information stamped on the flat surface near the mounting hole or along the side.
Begin sizing your chainsaw chain by finding the size markings on the guide bar’s flat surface or side.
You’ll usually see numbers like “16,” “18,” or “20,” which indicate the bar length in inches. Alongside, look for codes such as “3/8 LP” or “.050” that specify the pitch and gauge.
Sometimes, the number of drive links is included too. If these markings are worn or hard to read, don’t worry.
Just check the model number on the guide bar and refer to your chainsaw’s manual or the manufacturer’s specs. Getting these size markings right helps you pick the correct replacement chain and keep your saw running smoothly.
Inspect the Old Chain for Size Stamps

Although the old chain might look worn, you can often find size stamps directly on its drive links or side plates. These tiny markings tell you the chain’s pitch, gauge, and drive link count. They’re essential for finding the right replacement.
To inspect your old chain for size stamps, start by removing the chain and laying it flat in good light. Then, examine each drive link and side plate closely for stamped numbers or letters.
Focus especially near the master link or connecting rivets, where size info often appears. Once you find the markings, compare them with your chainsaw manual or guide bar specs to verify compatibility.
Measure the Pitch of the Chain

To gauge the pitch of your chainsaw chain, find three consecutive rivets and measure the distance between the outer two.
Then, divide that length by two to get the pitch size, which usually comes as 1/4″, 3/8″, or .325″.
Use a ruler or caliper to guarantee accuracy and match this size with your guide bar specifications.
Doing it this way helps ensure you get the right fit for your chainsaw.
Pitch Measurement Method
Because accurate pitch measurement guarantees your chainsaw chain fits properly, you’ll start by locating three consecutive rivets and measuring the distance between the first and third.
To perform the pitch measurement method correctly, lay the chain flat on a stable surface to prevent distortion. Use a ruler or caliper to measure the distance from the center of the first rivet to the center of the third rivet.
Next, divide this distance by two to find the pitch, usually expressed in inches (like 3/8”). Make sure the rivets are evenly spaced.
Finally, compare the pitch size to your guide bar or chain manual for compatibility. Following this pitch measurement method ensures you get the right chain size for maximum performance and safety.
Common Pitch Sizes
Chainsaw chains come in several common pitch sizes, each designed for specific saw types and cutting tasks. The pitch size refers to the distance between three consecutive rivets divided by two, typically measured in inches.
Common pitch sizes you’ll encounter include 1/4″, 3/8″ low profile (LP), 0.325″, 3/8″, and 0.404″. Knowing your chain’s pitch size is vital because it guarantees the chain fits the guide bar and sprocket correctly.
While many chains and guide bars have the pitch size stamped on them, you can measure it yourself by using a ruler or caliper to find the distance across three rivets and then dividing by two. This accurate measurement helps you select the right chain for safe and efficient cutting.
Use a Caliper to Measure the Bar Gauge
When you need an accurate measurement of your chain’s bar gauge, using a digital or dial caliper is the best approach. To measure the drive link precisely where it fits into the guide bar groove, follow these steps:
First, open the caliper’s jaws and place them around the widest part of the drive link. Then, take the reading in thousandths of an inch or millimeters, depending on your tool.
Make sure to repeat the measurement on several drive links to ensure consistency. This helps you get a reliable average.
Finally, compare your measurements to the gauge specified for your chainsaw. Usually, this will be between .043 and .063 inches.
Count the Number of Drive Links in the Chain
After measuring the bar gauge with a caliper, the next step is to count the number of drive links in the chain. First, remove the chain from the saw and lay it flat on a surface.
Start counting each individual metal link that forms the loop, making sure you include every drive link. To keep track of where you began, mark the first drive link with chalk or tape.
Count every drive link carefully and mark your starting point with chalk or tape to keep track.
Continue counting all the drive links around the entire chain loop until you reach the starting point again. This total number of drive links is vital for sizing your chainsaw chain correctly.
Make sure to note this number carefully, as it helps guarantee the chain fits properly and functions safely on your saw. It’s an easy step but super important!
Compare Measurements With Manufacturer Specifications
Although measuring your chain’s pitch, gauge, and drive link count gives you important data, you’ll still need to compare these numbers with the manufacturer’s specifications to guarantee a proper fit. Always check the guide bar or user manual for official measurements.
To verify accuracy, follow these steps:
- Measure the pitch by finding the distance between three consecutive rivets and dividing by two.
- Use a caliper to measure the drive link thickness (gauge), usually between .043 and .063 inches.
- Count the number of drive links and compare it with the specified chain length.
- Cross-reference all measurements with the manufacturer’s specs to confirm compatibility.
Doing this comparison ensures your chainsaw chain fits properly, performs well, and stays safe to use. It’s a simple step that really pays off in the long run!
Remove the Chainsaw Bar for Accurate Length Measurement
First, loosen the bar nuts and carefully detach the chain, keeping track of the drive links’ position. Then, remove the chainsaw bar and place it on a flat surface.
Measure the bar precisely from tip to end to guarantee you get the correct chain size. This way, you’ll avoid any guesswork and ensure a perfect fit.
Loosen Bar Nuts
How do you accurately measure your chainsaw bar length? First, you need to loosen bar nuts to detach the guide bar safely. This step ensures you can remove the bar without damaging the chain or sprocket.
Here’s how to do it: Use the appropriate wrench or socket to loosen bar nuts on the chainsaw. Then, carefully slide the guide bar off, supporting the chain and sprocket.
Next, remove the chain from the bar to prevent any binding during measurement. Place the bar on a flat, stable surface and measure its true length from tip to end.
Remember to keep all removed parts and bolts safe for easy reassembly after measuring. Loosening bar nuts properly is key to an accurate chainsaw bar length measurement.
Detach Chain Carefully
After loosening the bar nuts and removing the guide bar, you’ll need to carefully detach the chain to measure its length accurately. Start by loosening the tensioner to slide the chain off the guide bar without stretching or twisting it.
Follow the manufacturer’s instructions to unscrew the mounting bolts and remove the guide bar completely. Place the bar flat on a stable surface and take off the chain, keeping track of the chain’s orientation and connection points.
Be sure to note how the drive links and cutters align to ensure proper reassembly later. Once detached, you can measure the chain by either laying it flat and using a tape measure or counting the drive links to confirm the correct size.
This careful removal is essential for an accurate measurement. Taking your time here really pays off when it’s time to put everything back together.
Measure Bar Precisely
Because accurate measurement is essential, you’ll want to remove the chainsaw bar by loosening and taking out the securing bolts according to your manufacturer’s instructions.
Once detached, place the bar on a flat, level surface to guarantee precision. Then, use a measuring tape or ruler to get the exact length.
Here’s how to measure the bar precisely:
- Remove the chainsaw bar carefully by loosening the bolts.
- Lay the bar flat on a stable surface.
- Measure from the very tip of the bar to where it attaches to the chainsaw body.
- Round up the length to the nearest standard size (e.g., 16″, 18″, or 20″).
Recording this measurement helps you pick the right bar and chain for your chainsaw. Easy, right? Just make sure to double-check, so everything fits perfectly.
Measure the True Length of the Chainsaw Bar
When you want to measure the true length of your chainsaw bar, start by removing it from the chainsaw according to the manufacturer’s instructions. Place the bar on a flat, level surface and use a tape measure to measure from the tip to where it connects to the chainsaw body.
Make sure the tape runs straight along the center of the bar for accuracy. Round up your measurement to the nearest standard size to determine the proper replacement bar length. Double-check that the bar is straight and free from warping or damage before buying a replacement.
| Step | Action |
|---|---|
| 1 | Remove bar following instructions |
| 2 | Lay bar flat on level surface |
| 3 | Measure from tip to connection point |
| 4 | Round up to nearest standard size |
| 5 | Inspect bar for warping or damage |
Use these steps to measure a chainsaw bar precisely.
Confirm Compatibility Between Chain and Bar
To guarantee your chainsaw operates safely and efficiently, you need to verify that the chain and bar are fully compatible. This means checking several key factors before proceeding.
First, measure the pitch by dividing the distance across three rivets by two. Then, compare it to the bar’s pitch requirement to make sure they match.
Measure the pitch by dividing the distance across three rivets by two and match it to the bar’s pitch.
Next, ensure the chain’s gauge matches the groove width of the guide bar. This is important for a proper fit and smooth operation.
Also, count the drive links on the chain and verify they match the bar’s specifications. It’s a simple step but crucial for compatibility.
Finally, confirm the chain’s pitch, gauge, and drive link count align with the owner’s manual or the bar’s stamped size. Doing this helps avoid problems and keeps your saw running great.
Select the Correct Replacement Chain Based on All Measurements
Although selecting a replacement chain might seem straightforward, you need to match the pitch, gauge, and drive link count exactly to guarantee your chainsaw performs safely and efficiently.
First, measure the pitch by dividing the distance between three rivets by two. Next, use a caliper to check the gauge—the thickness of the drive links must fit perfectly in the bar groove.
Finally, count the drive links to confirm the chain size matches your saw’s specifications. Selecting a replacement chainsaw chain that matches all three measurements ensures ideal fit and performance.
| Measurement | How to Check |
|---|---|
| Pitch | Distance between 3 rivets ÷ 2 |
| Gauge | Thickness of drive links (caliper) |
| Drive Links | Count links on the chain |
Frequently Asked Questions
How to Read a Chainsaw Chain?
You read a chainsaw chain by checking the stamped pitch, gauge, and drive link count. Measure the pitch between rivets, gauge with a caliper, and count the drive links.
This way, you make sure it matches your saw’s bar and sprocket properly. It’s pretty simple once you get the hang of it!
Can I Put an 18 Inch Bar on a 16 Inch Chainsaw?
You can put an 18-inch bar on a 16-inch chainsaw if your saw supports it; about 70% of models do.
Just make sure the chain length and sprocket fit, or you’ll risk damage and poor performance.
It’s always a good idea to check your chainsaw’s manual or consult with a professional before making the switch.
How Many Links Are in a 24 Inch Chainsaw Chain?
A 24-inch chainsaw chain usually has about 62 to 72 drive links. You’ll want to count your current chain’s links or check specs to guarantee you get the right fit.
This way, you ensure smooth, safe cutting performance every time. It’s always better to double-check than to guess!
How Long Is a 20 Chainsaw Bar?
Measure twice, cut once. A 20-inch chainsaw bar is exactly 20 inches from tip to mounting hole.
You’ll want to verify it on a flat surface to ensure accuracy before buying or replacing the chain. It’s always better to double-check so everything fits just right!
Conclusion
So, after all that measuring, counting, and inspecting, you might think sizing a chainsaw chain would be simple—right? Well, now you know it’s a bit like solving a mini puzzle.
But don’t worry, once you’ve got the pitch, gauge, and number of drive links down, you’re basically a chainsaw chain sizing pro.
Next time you need a replacement chainsaw chain, you’ll breeze through it—no chainsaw drama required! Understanding how to size a chainsaw chain properly ensures your tool runs smoothly and safely every time.
With these easy steps, finding the right chainsaw chain size becomes straightforward and hassle-free. So grab your measurements and get ready to tackle any chainsaw chain sizing challenge like a pro!